Tag: Restoration

  • Finalizing Amiga 4000D (…for now)

    Finalizing Amiga 4000D (…for now)

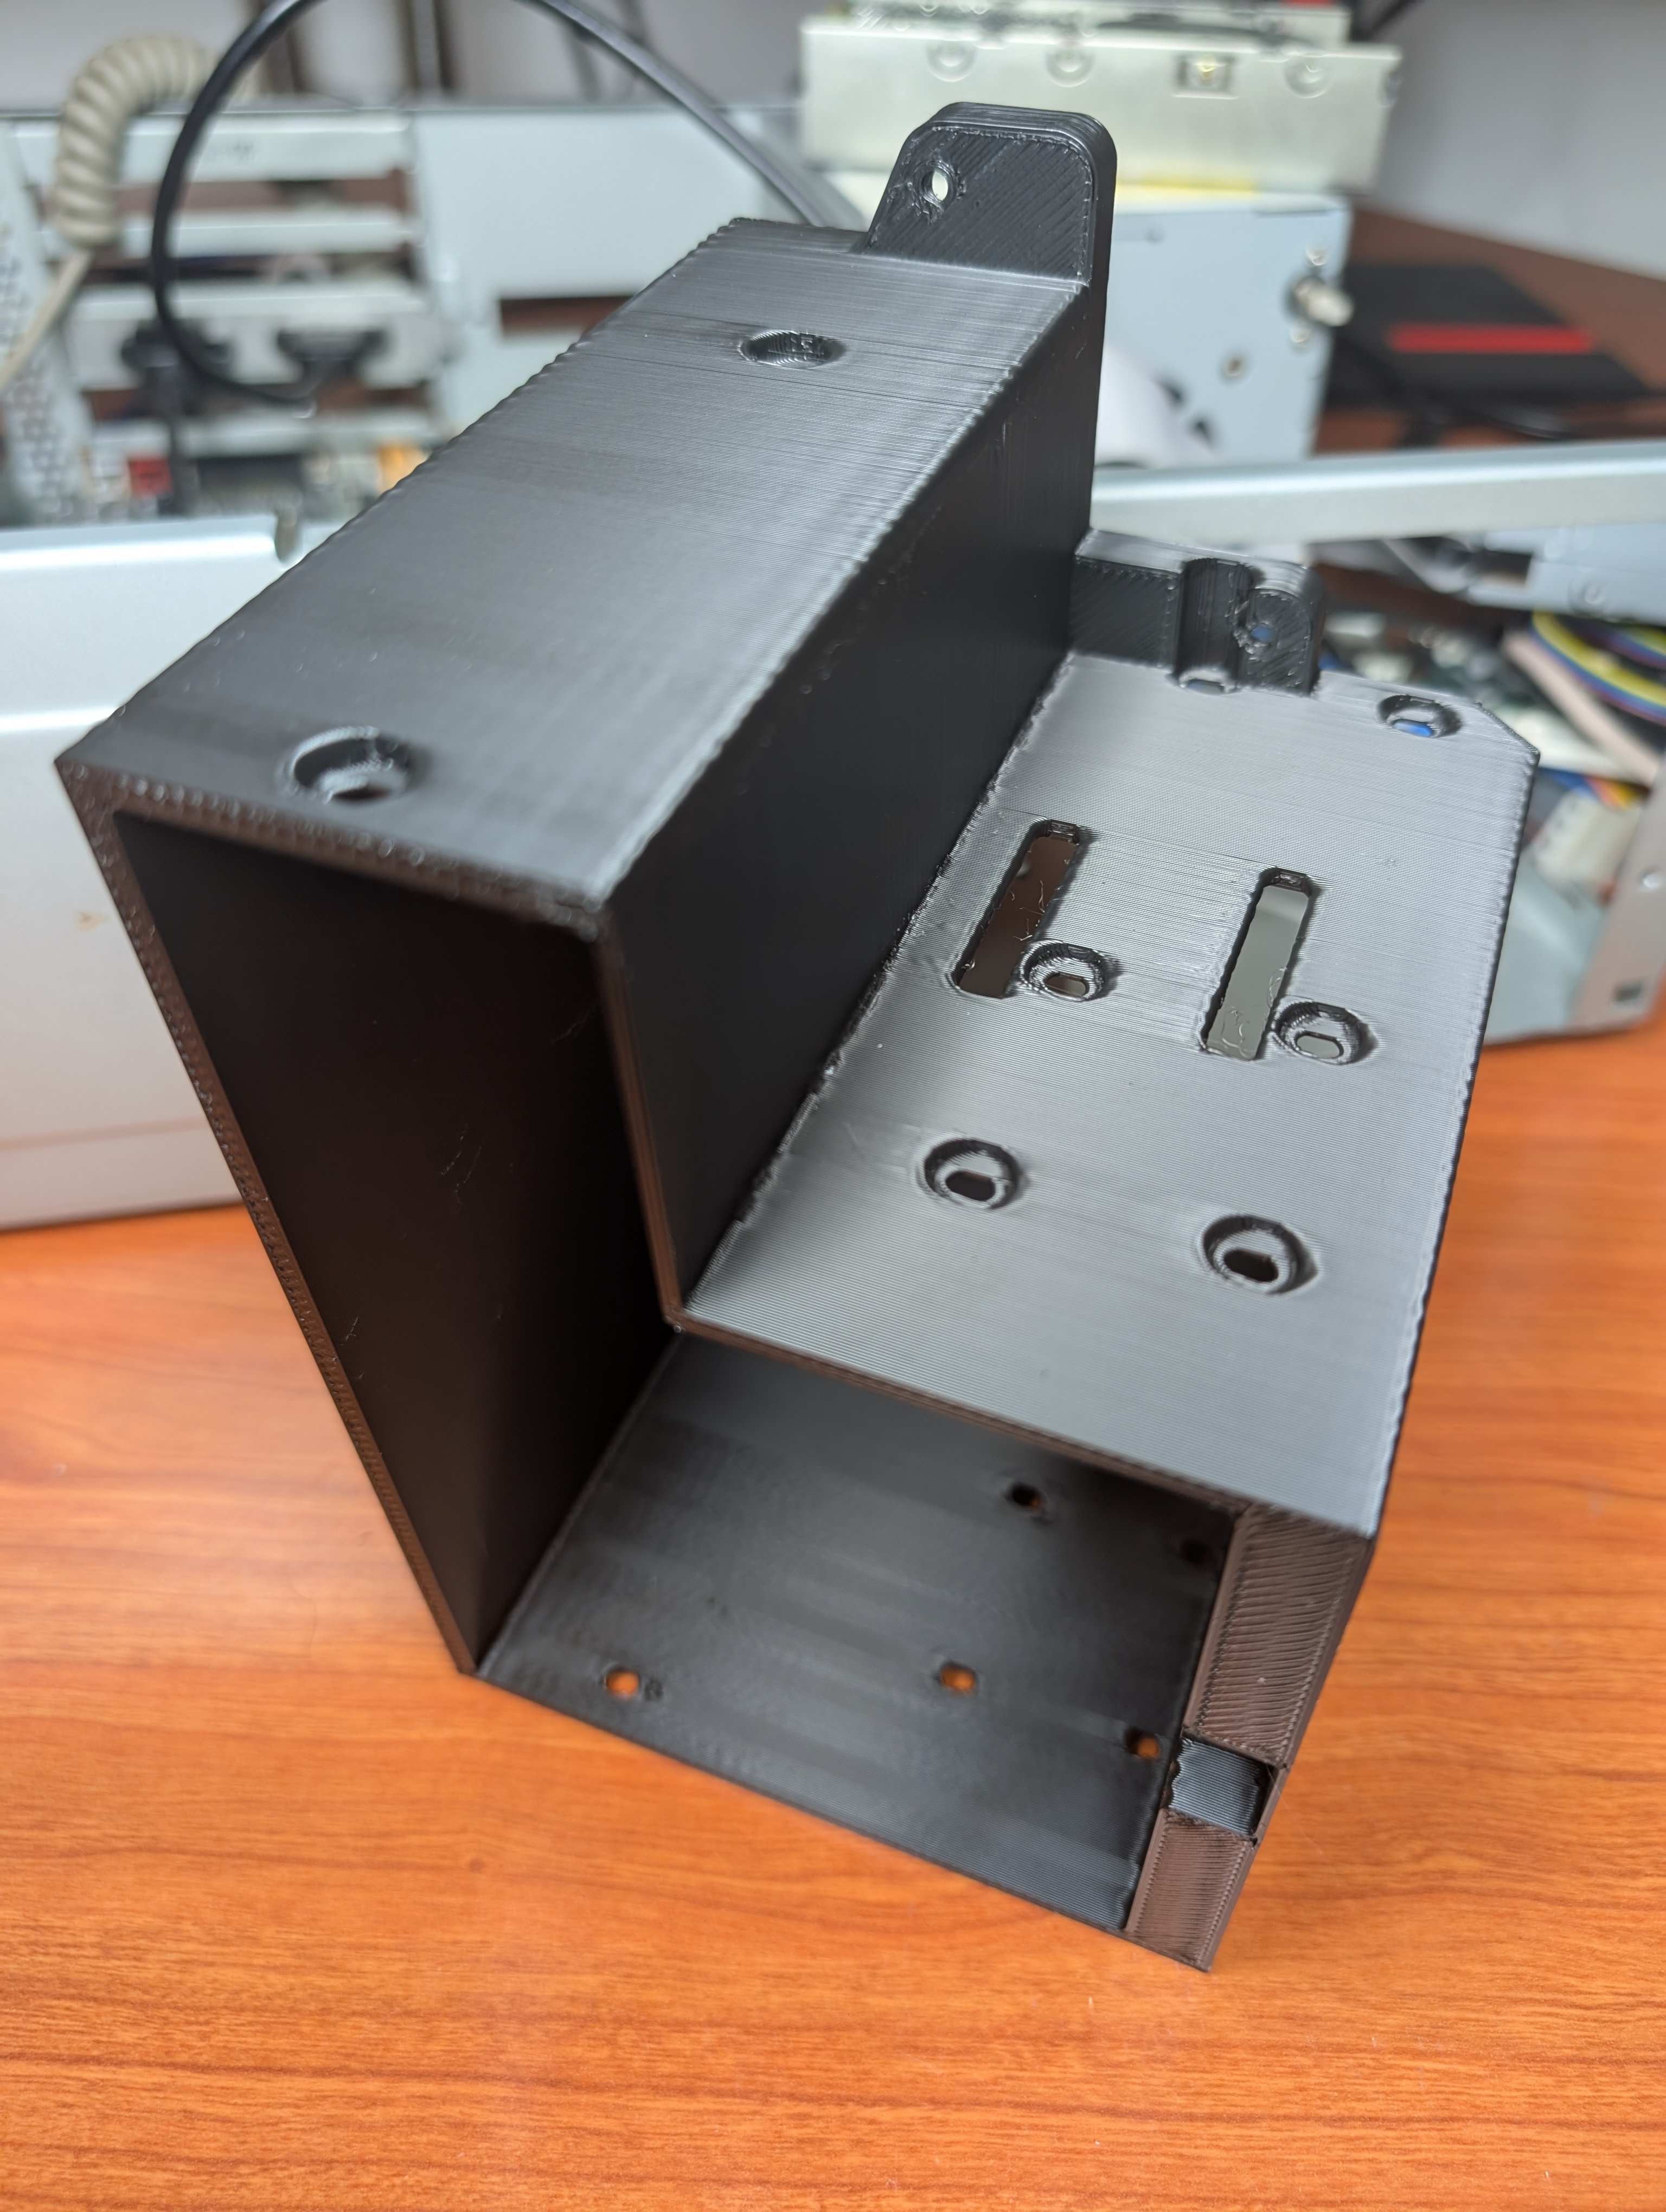
    Finally all 3D printed parts are ready, time for assembling everything together.

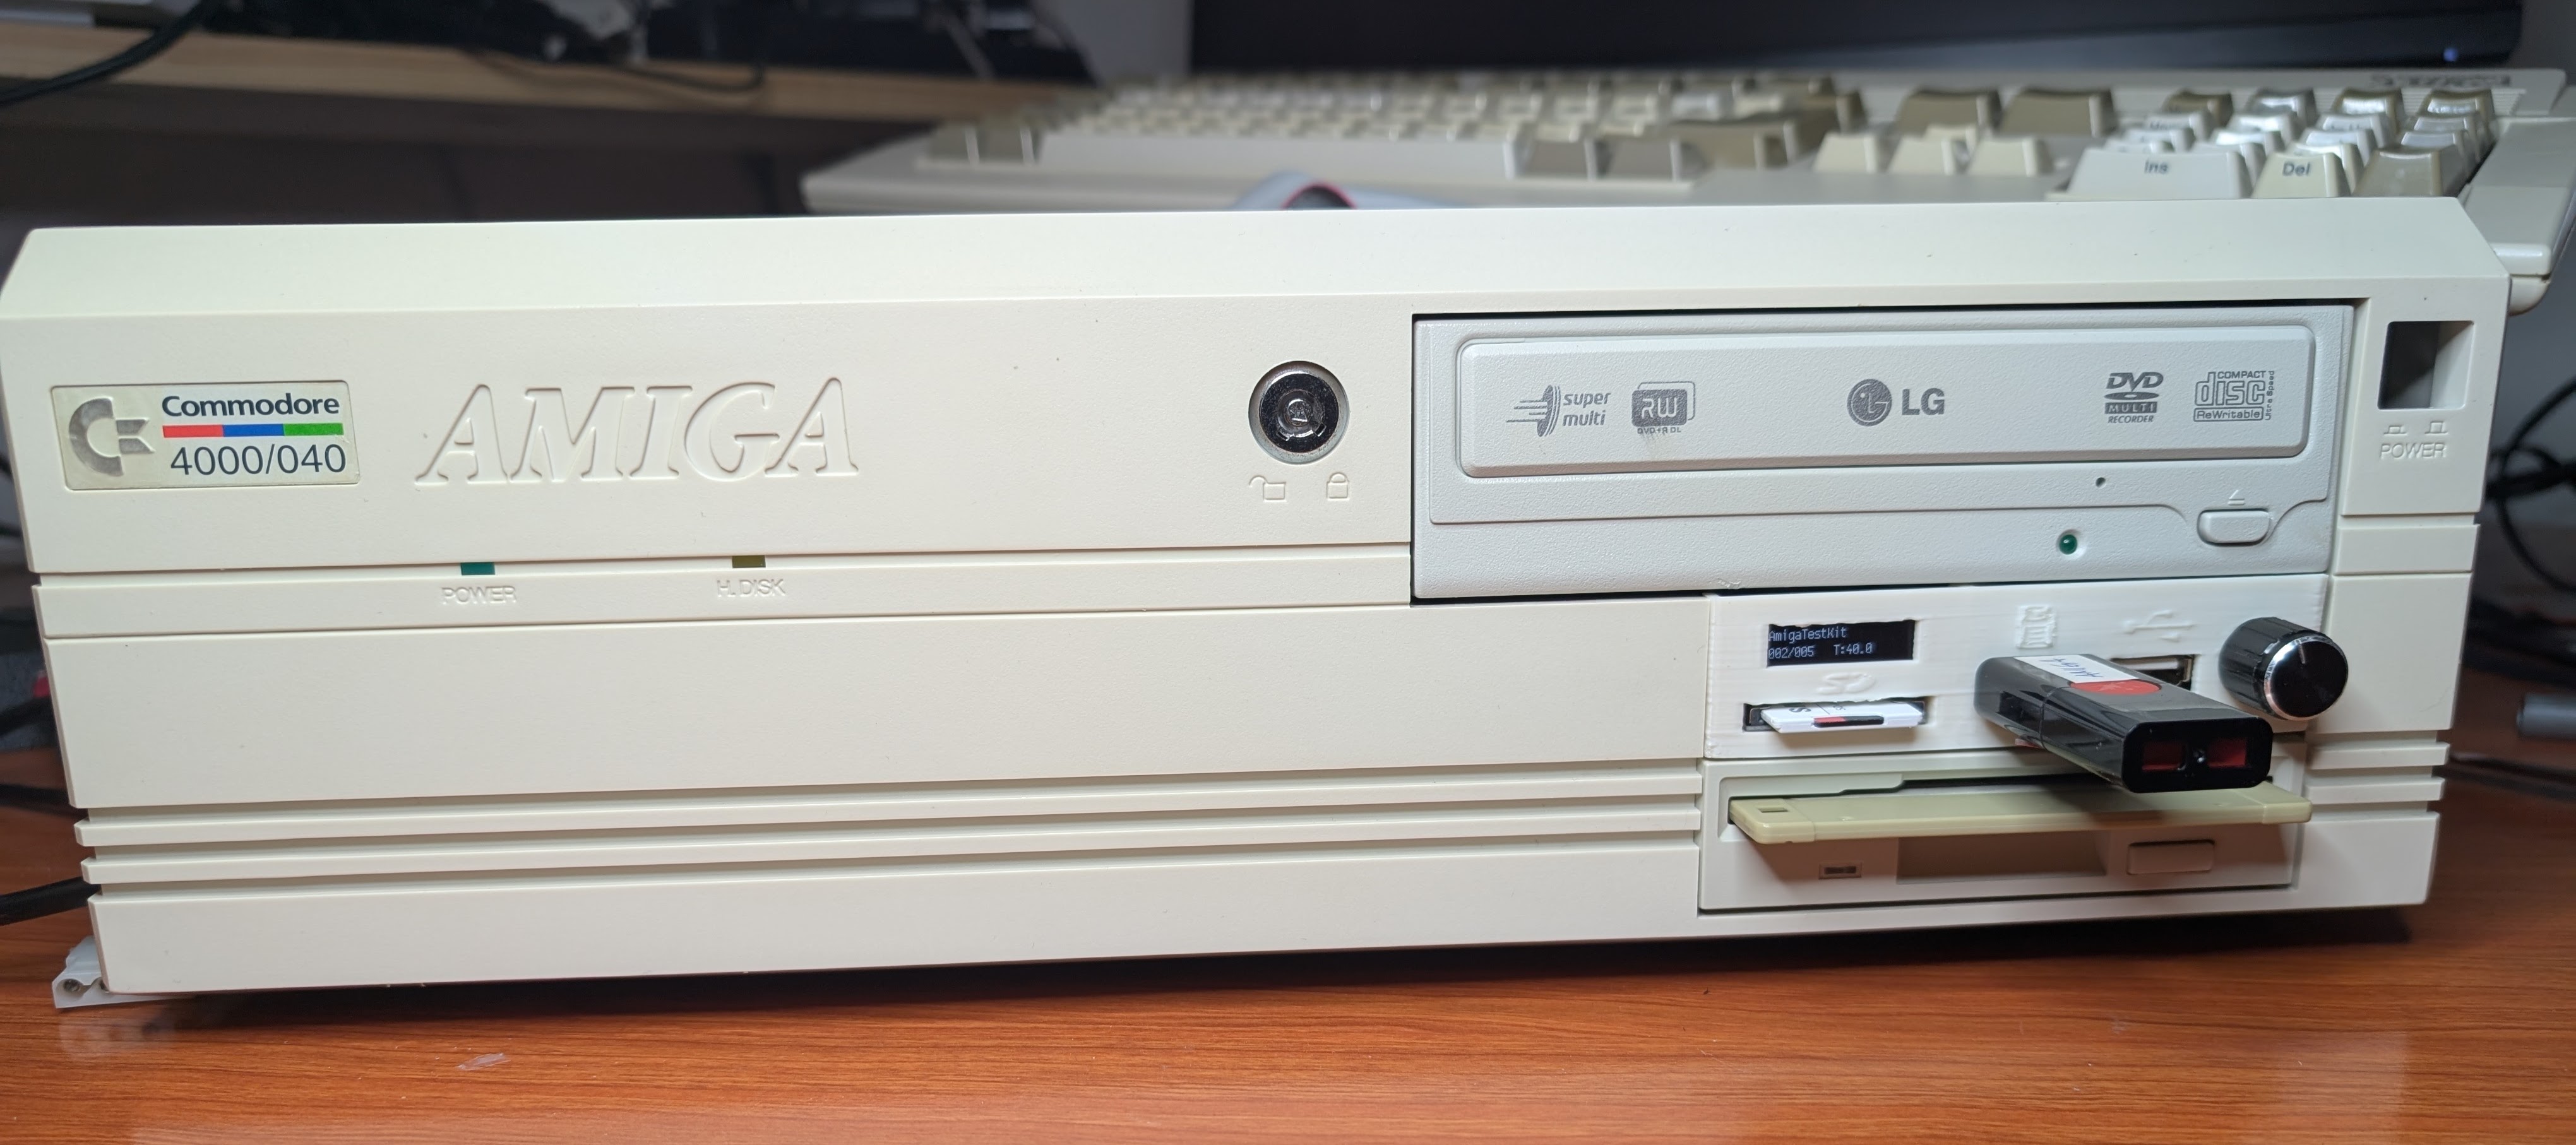
    Gotek, 3.5″ Floppy and DVD-ROM mounted to my new 3D printed drive cage. When putting cage in, you can move it few millimeters to right so SD extender cable has plenty of room to slide inside.
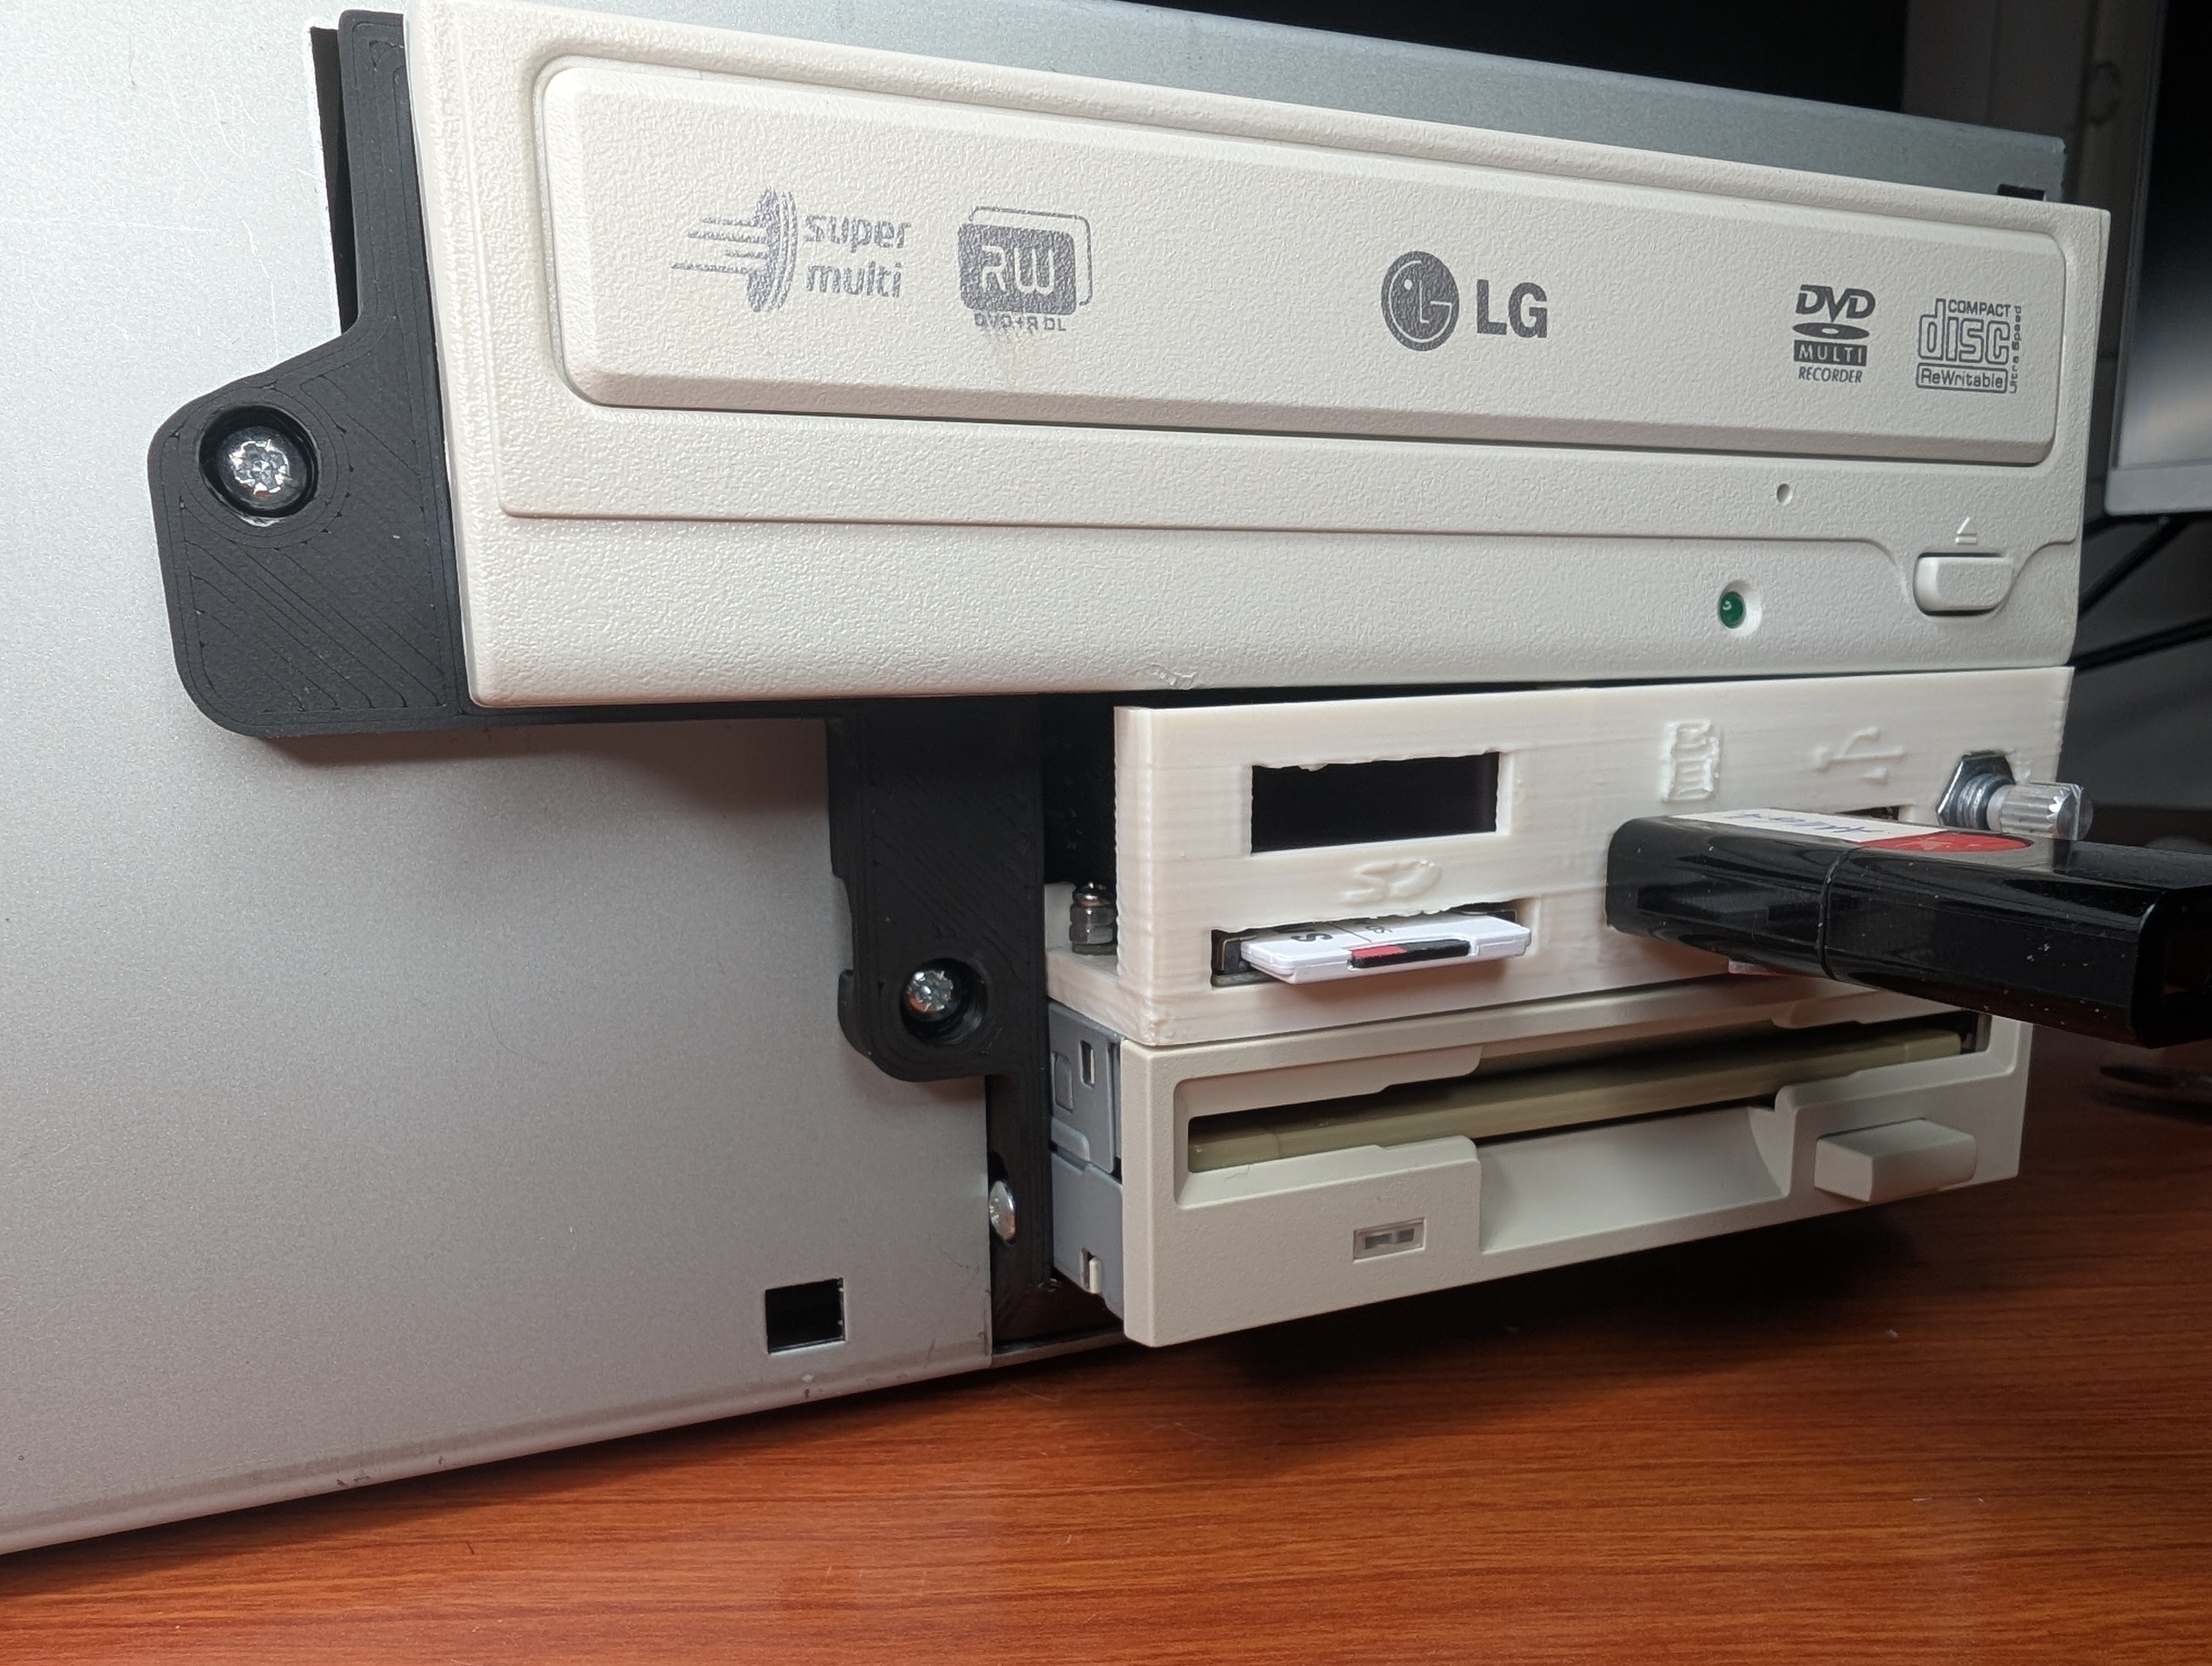
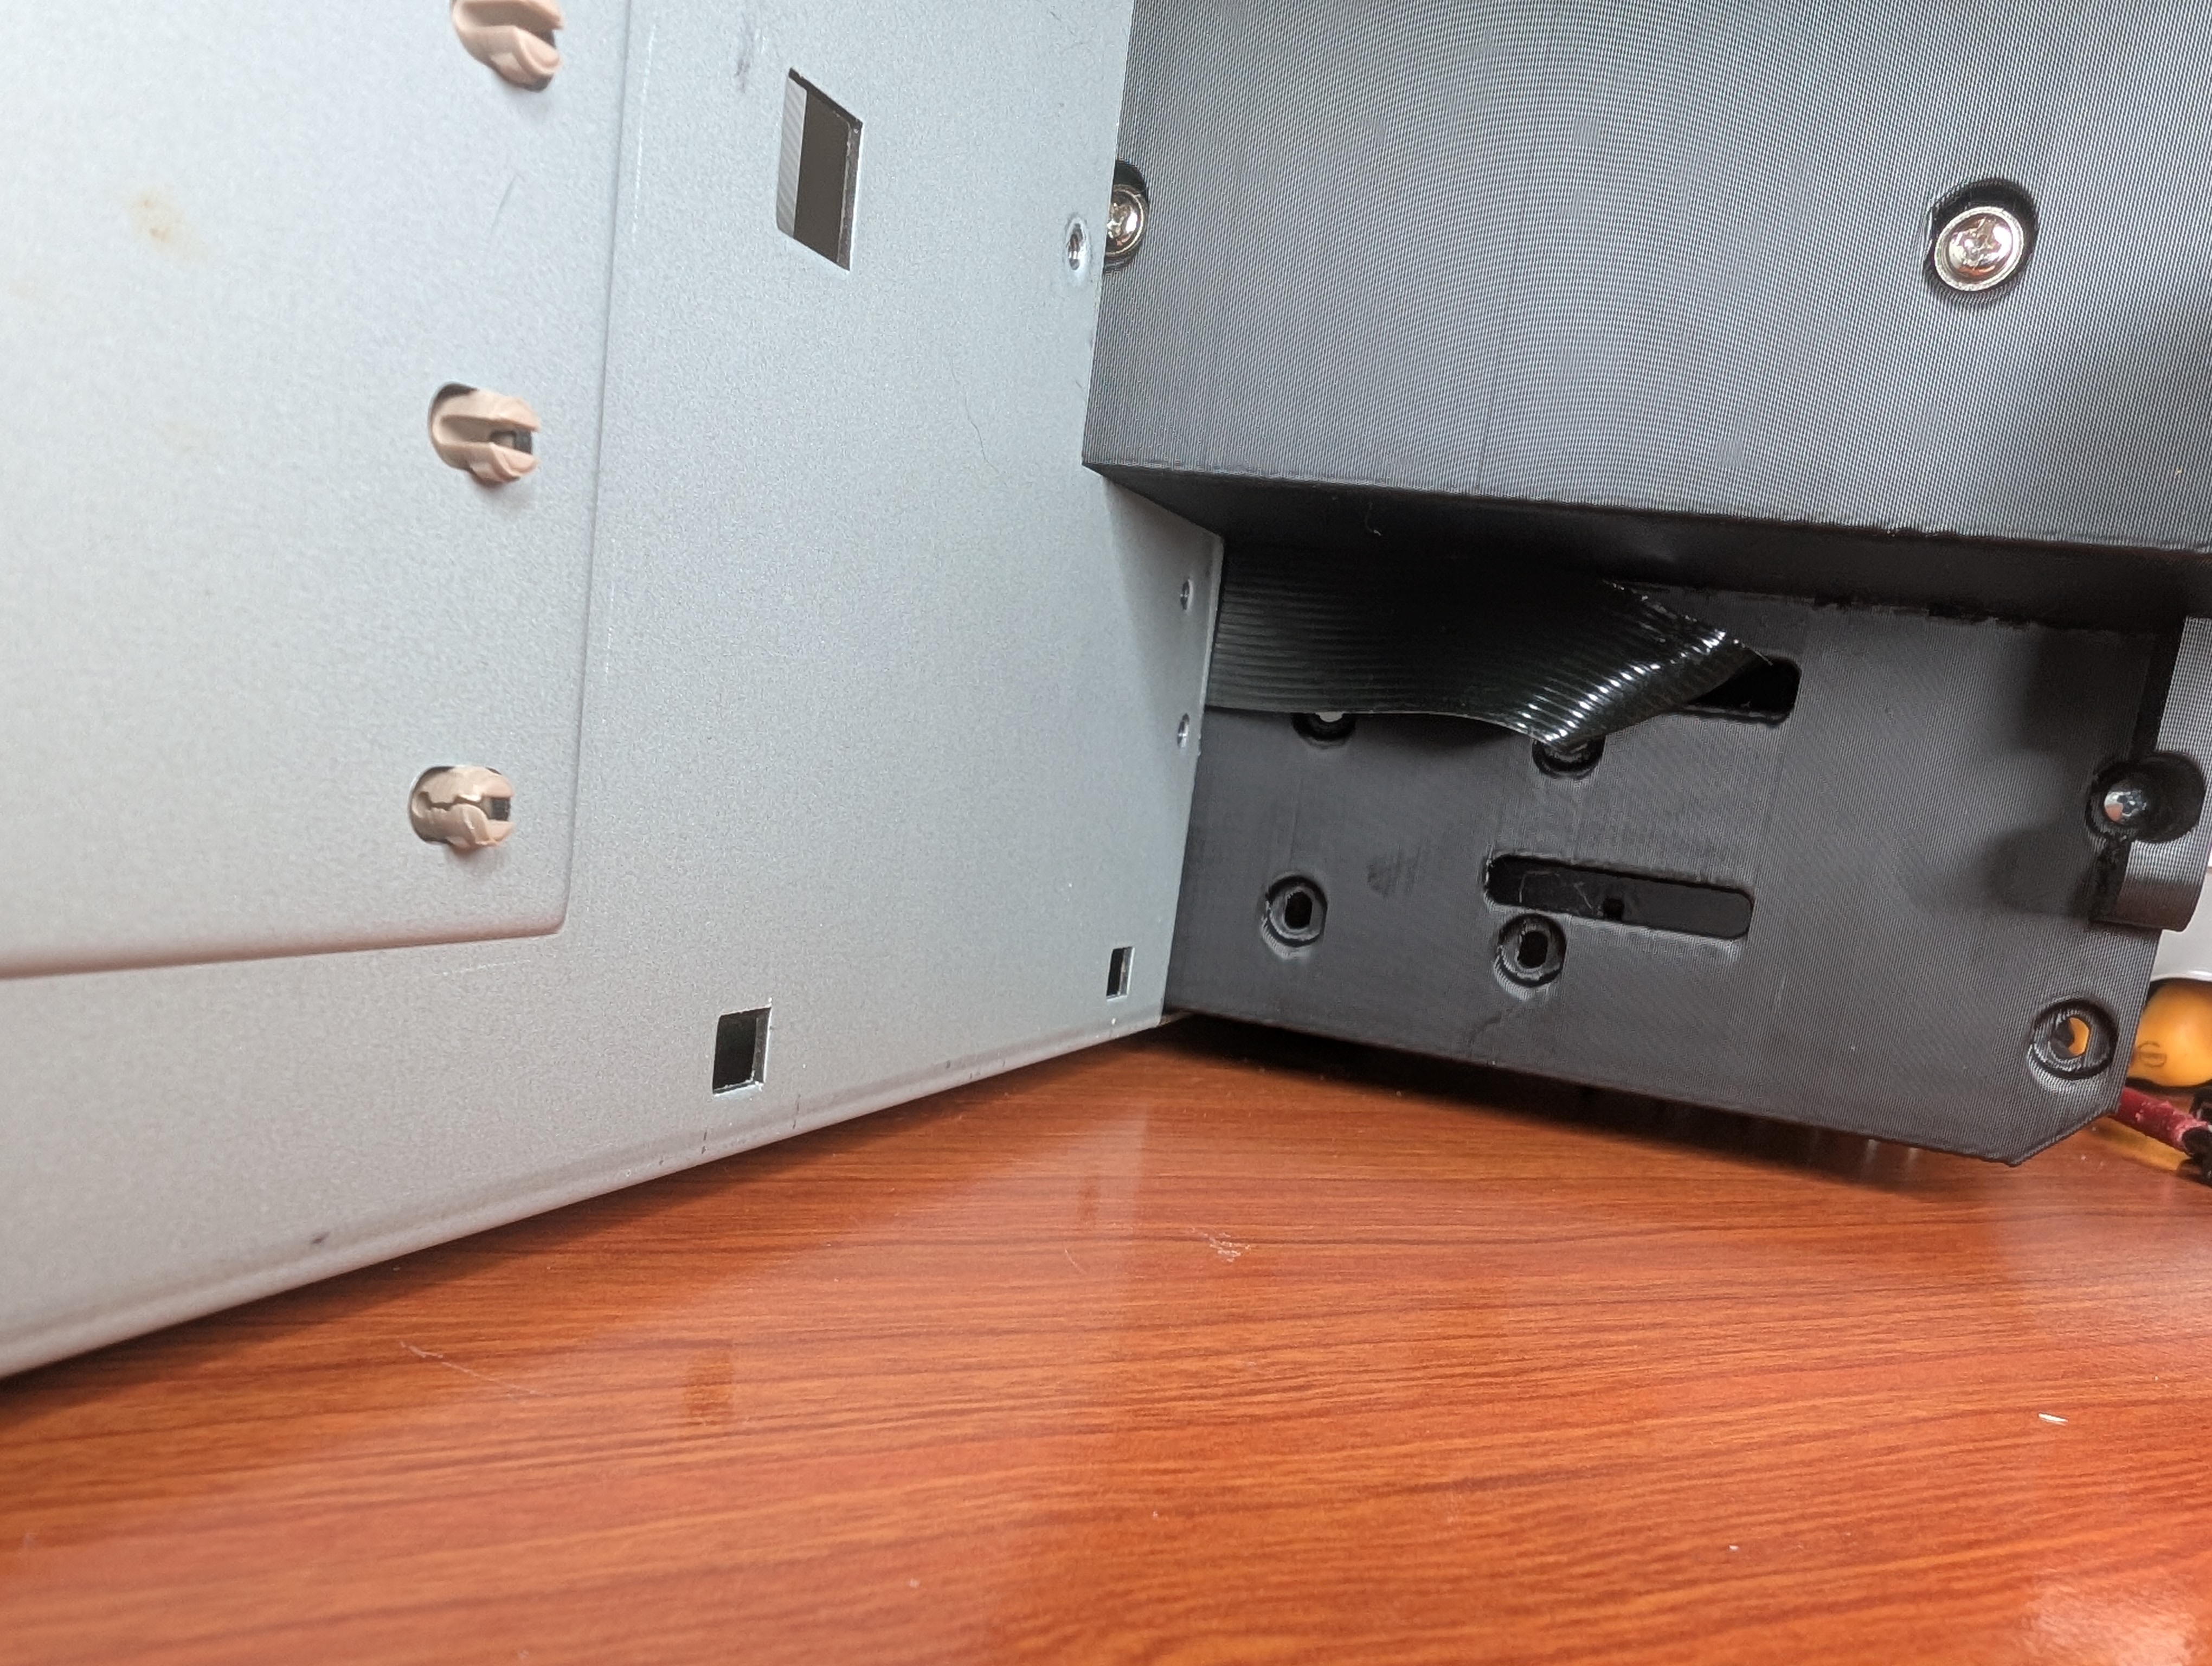
    Moment of truth, putting front bezel back. And it fits perfect!
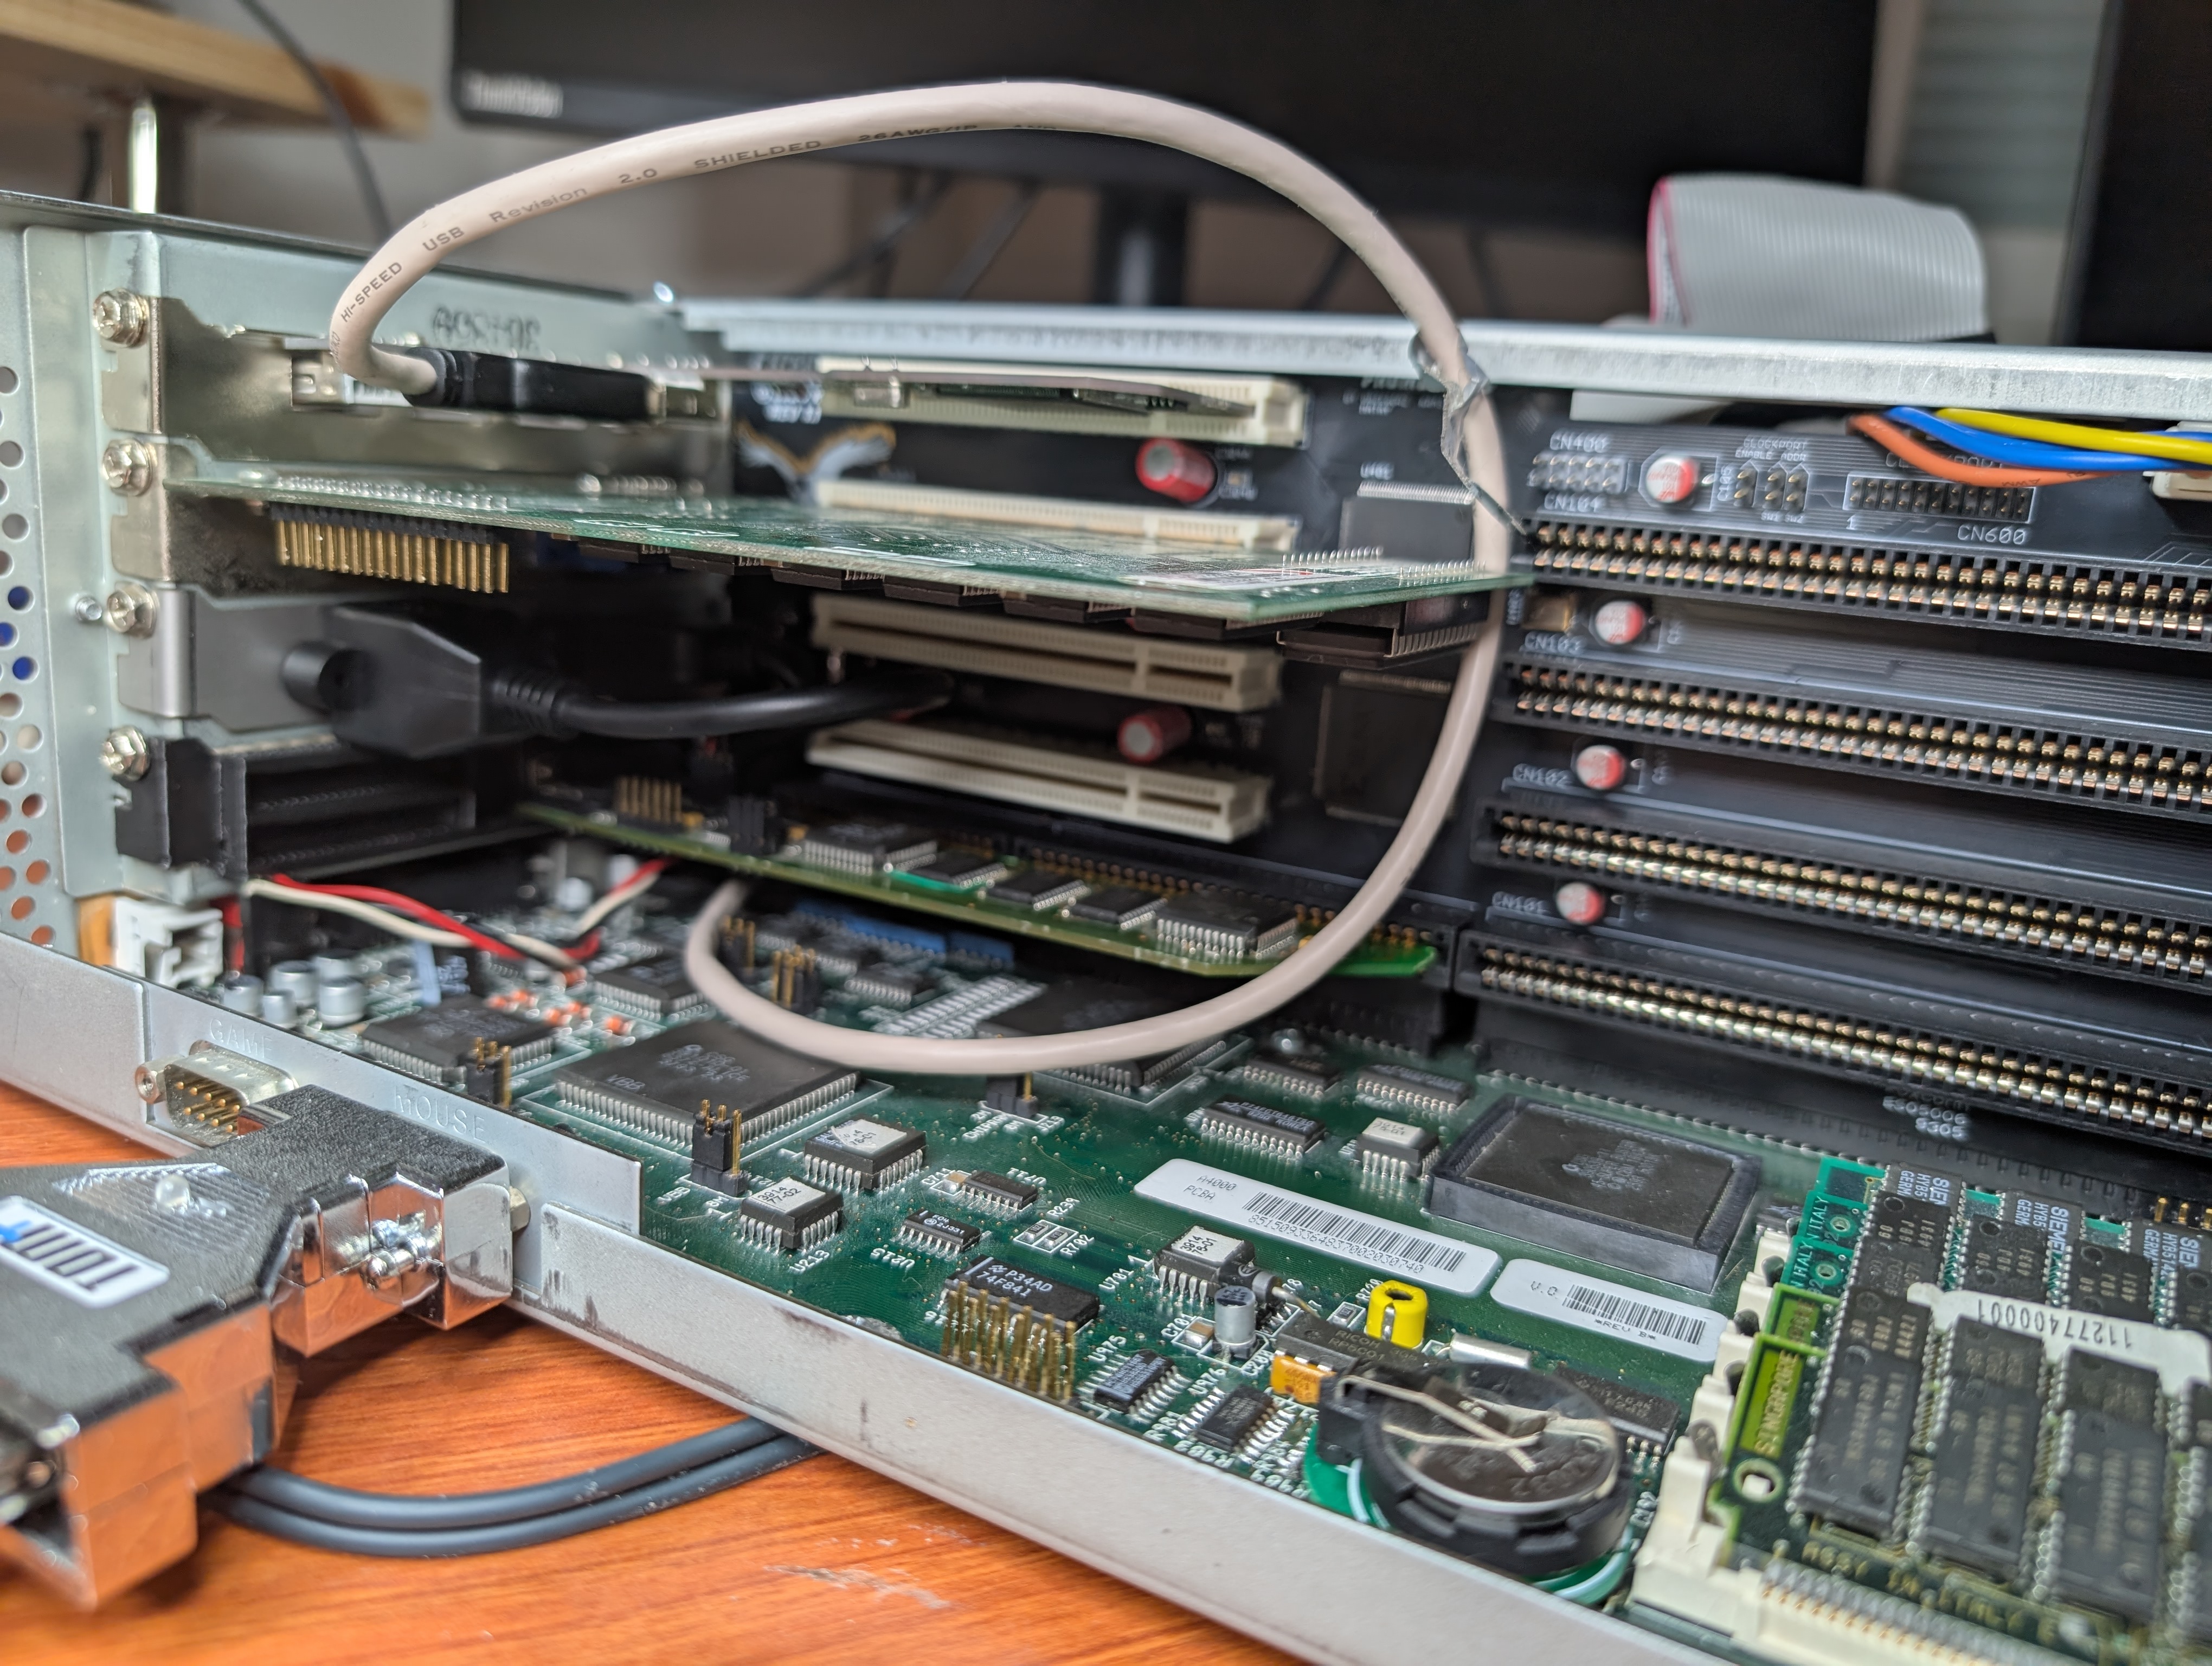
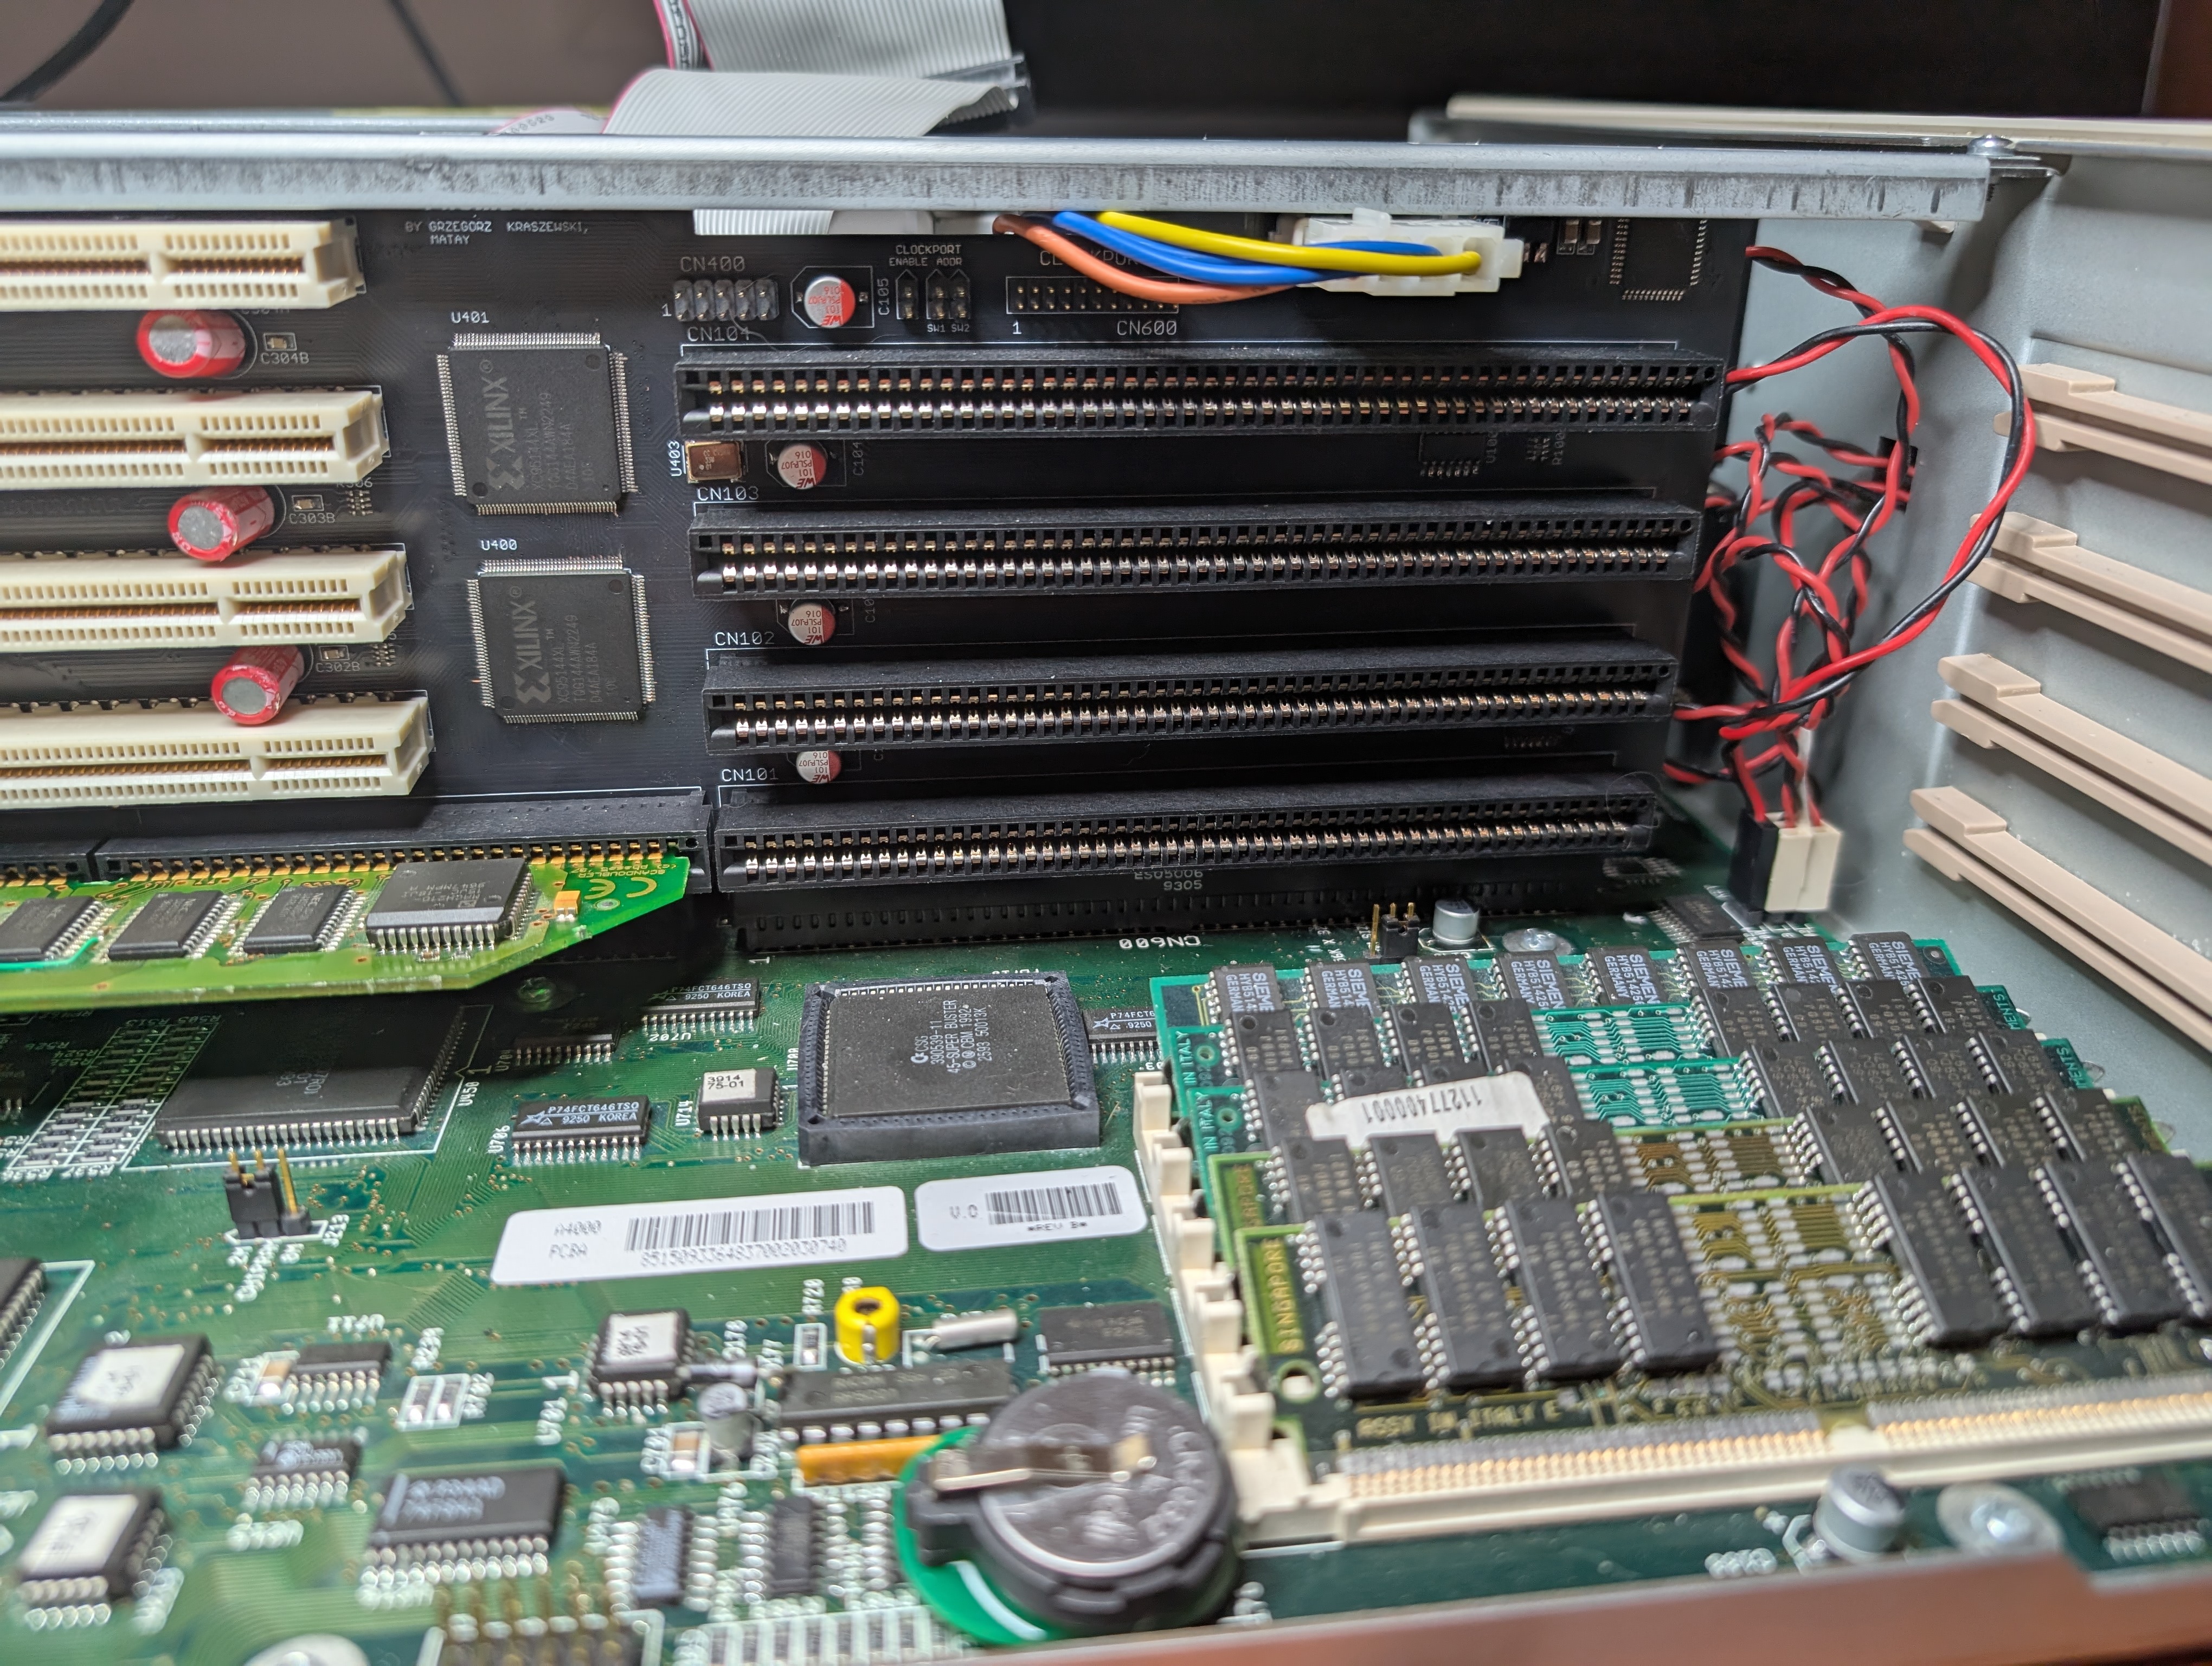
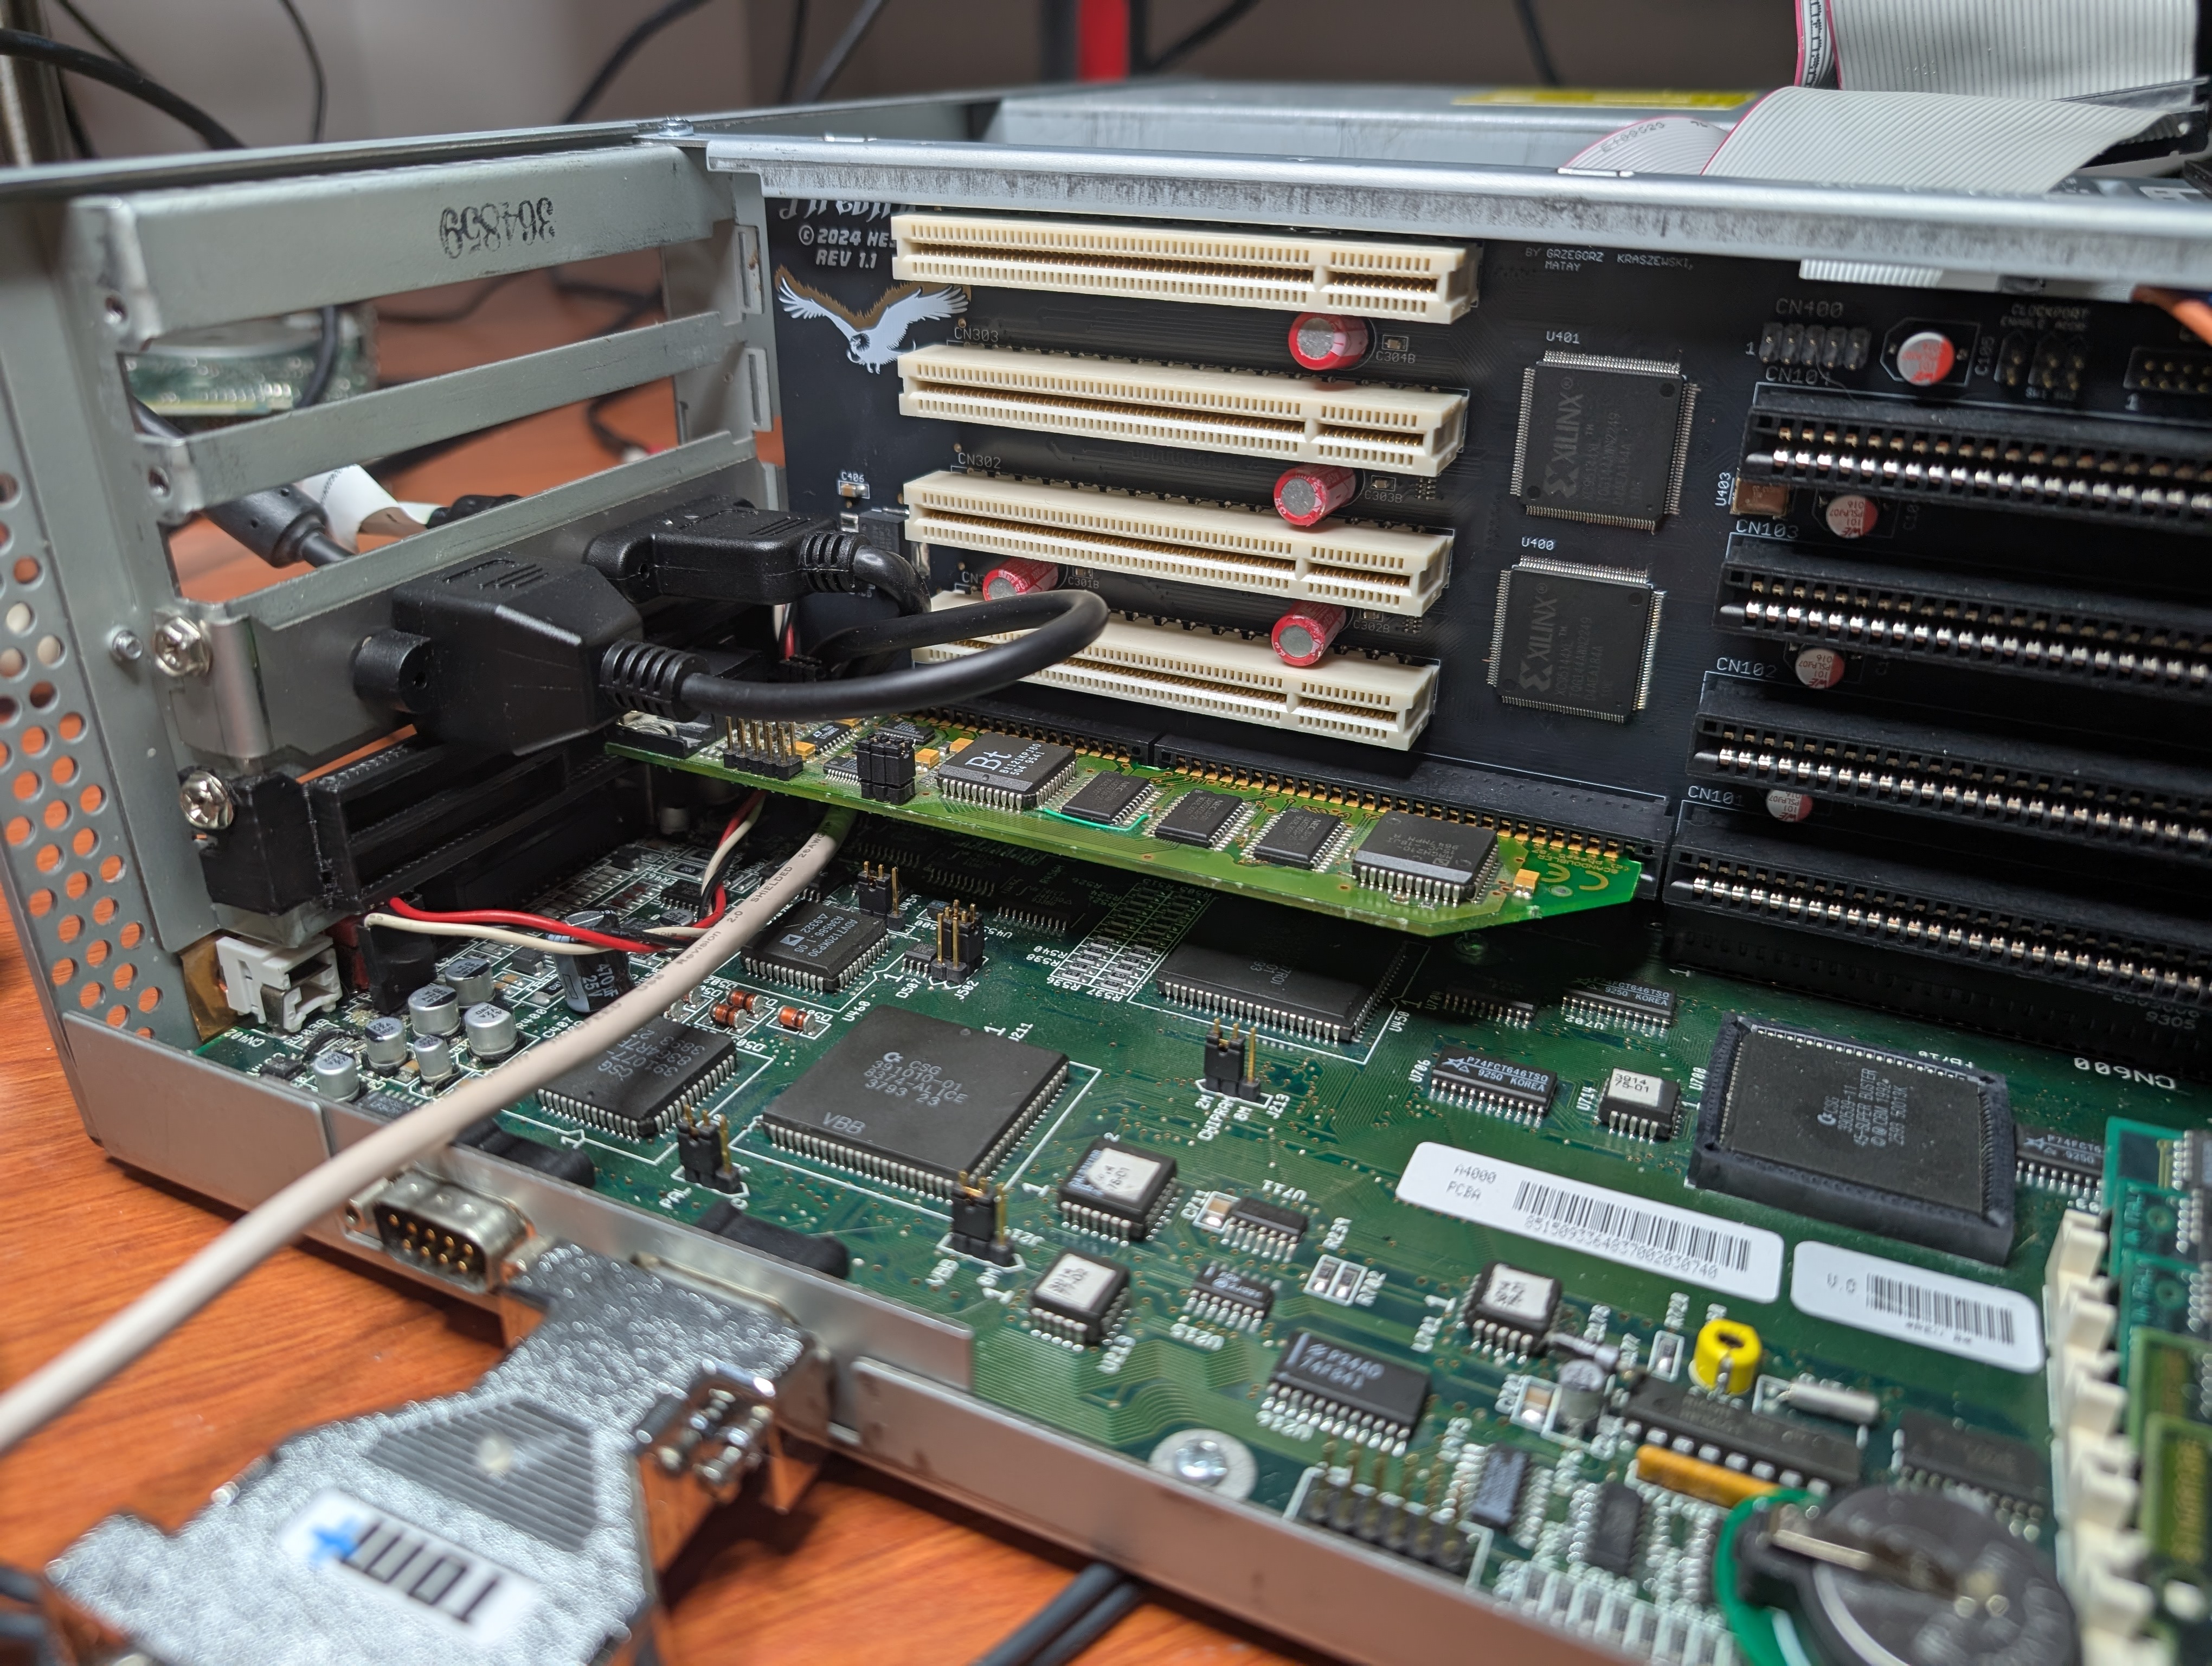
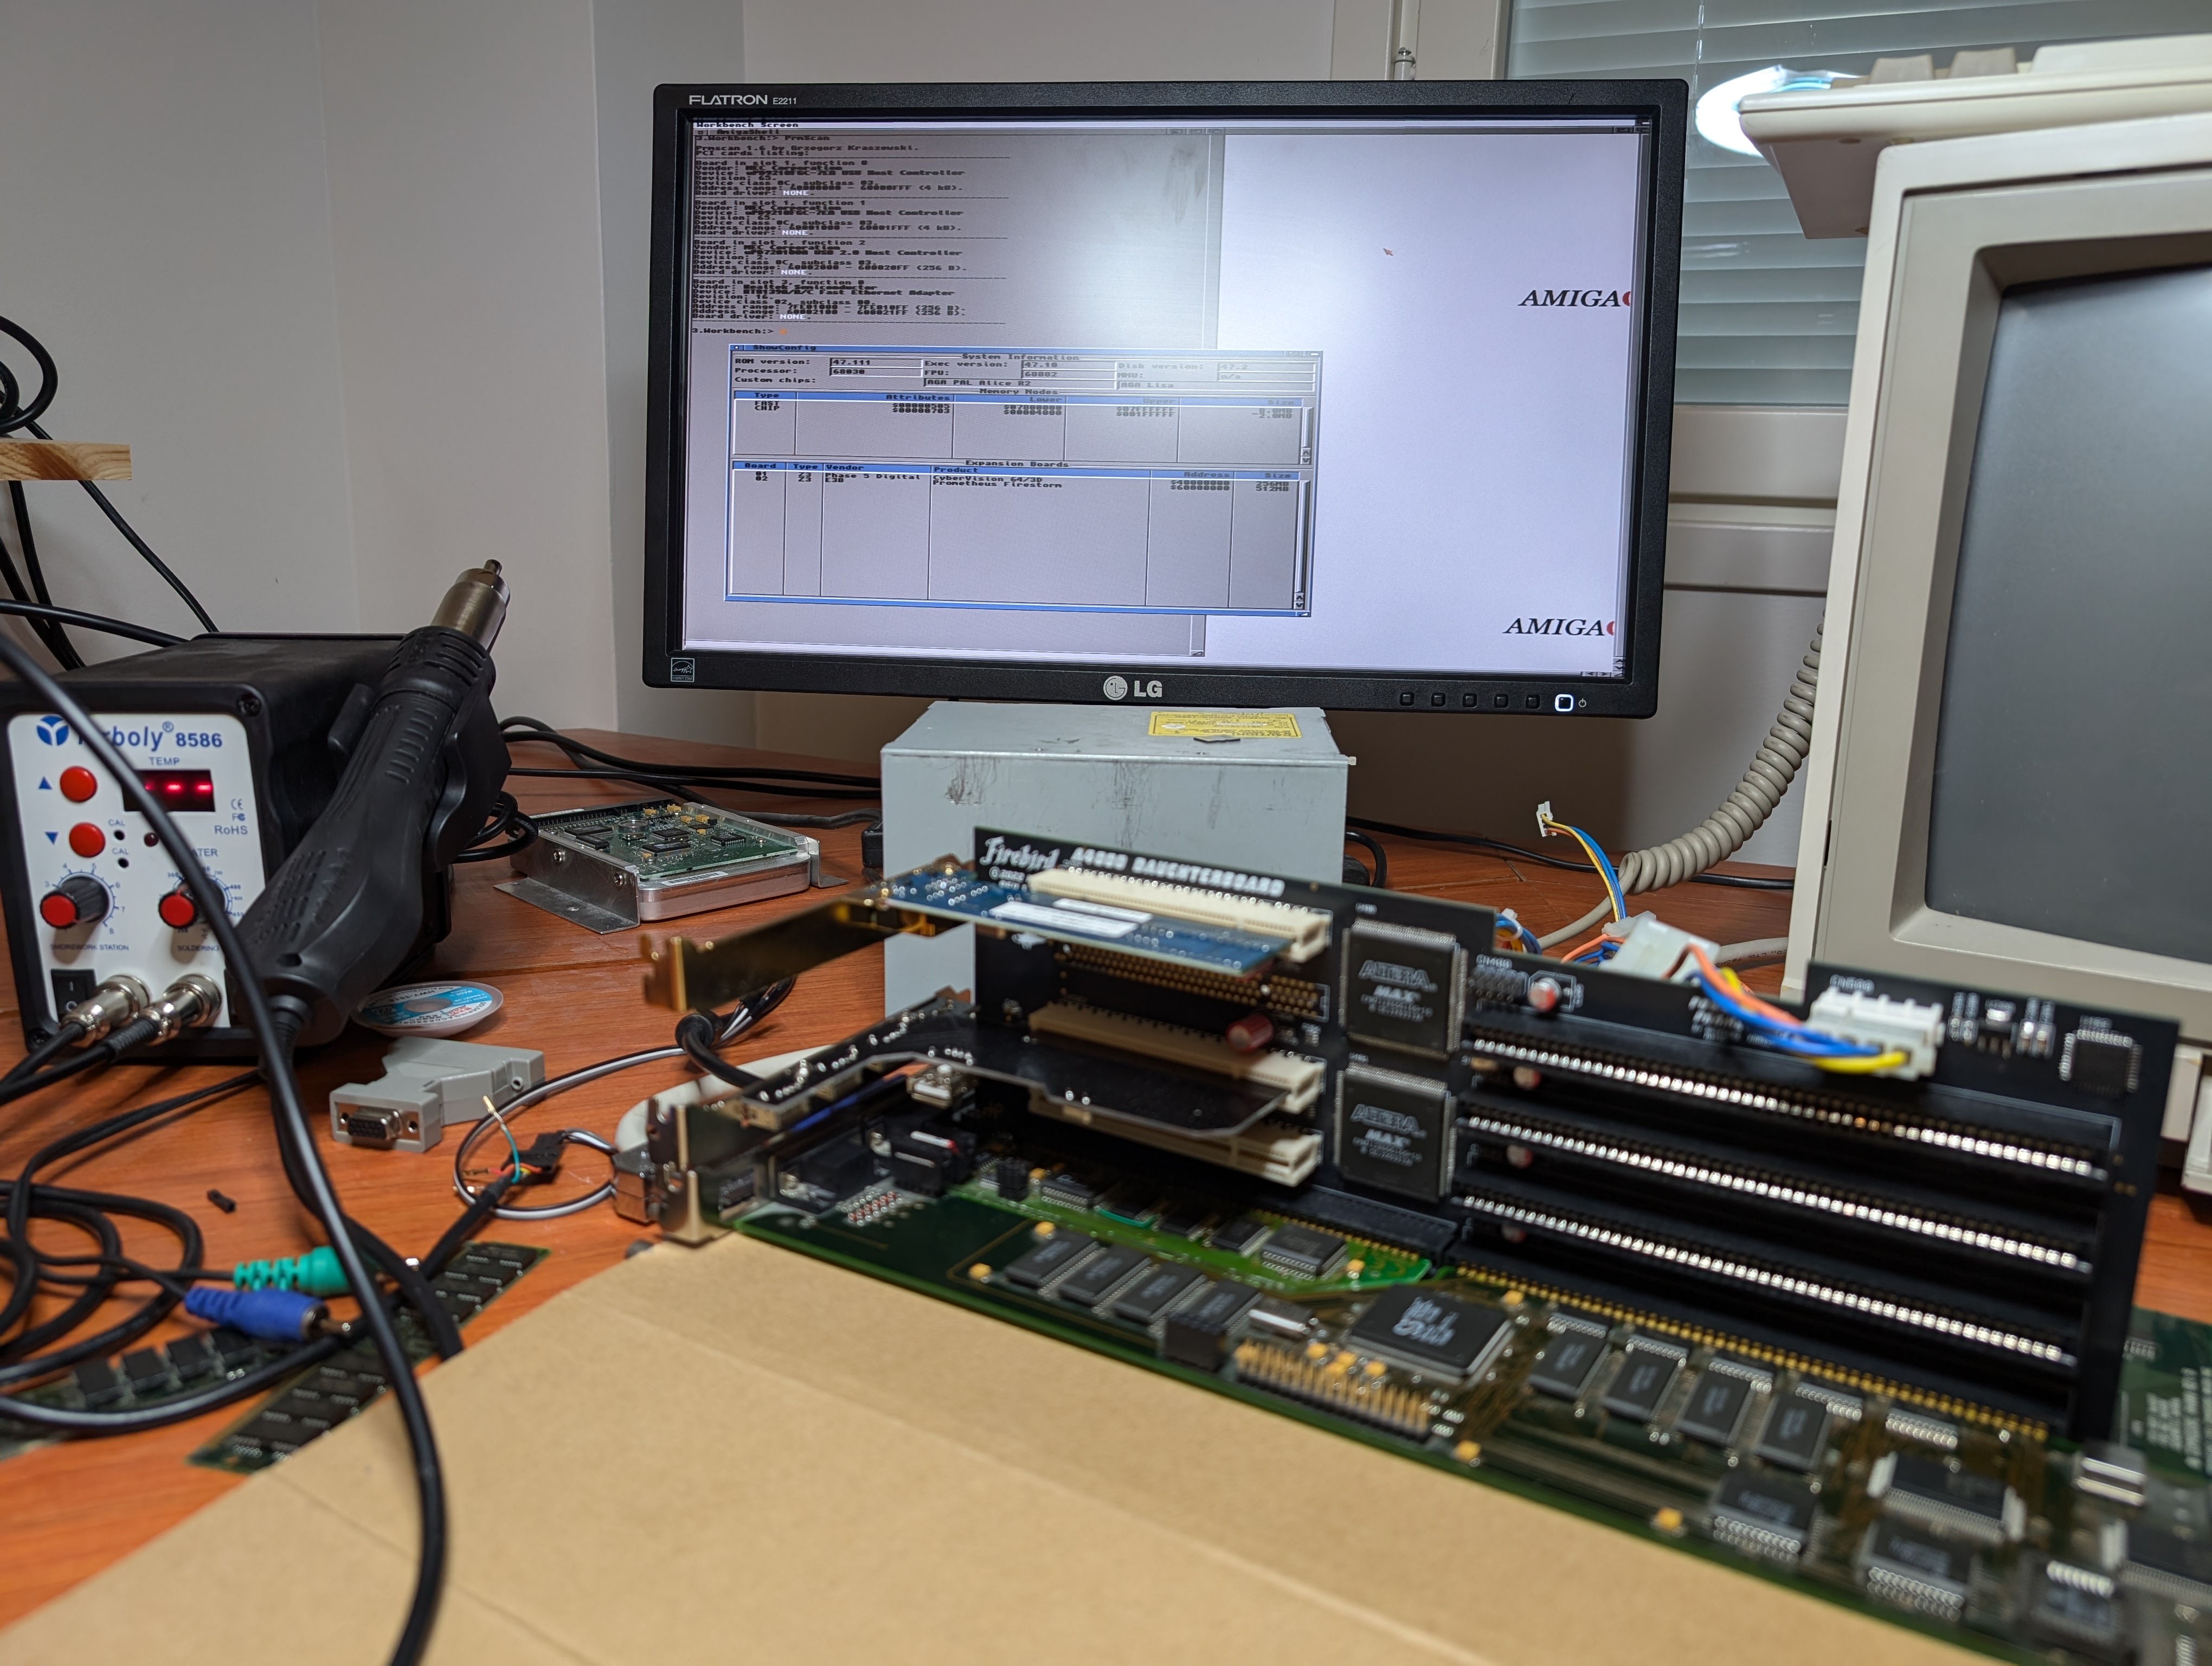
    First Firebird daughter card which provides 4 PCI slots, 4 Zorro slots and 1 Video slot. In video slot I have the Scandoubler daughterboard from Cybervision 64/3D, it just has superior image quality compared to native output or any VGA-adapter connected to it, even OSSC. I modeled bracket for it, as the original stays with the Cybervision card. You can find that also at printables.com.
    Above that sits S3 ViRGE display card, but funny enough, its only purpose in this setup is to provide DMA memory for other PCI cards.
    And on top there’s USB host card with NEC chip from which the USB extender cable goes to front face of Gotek.
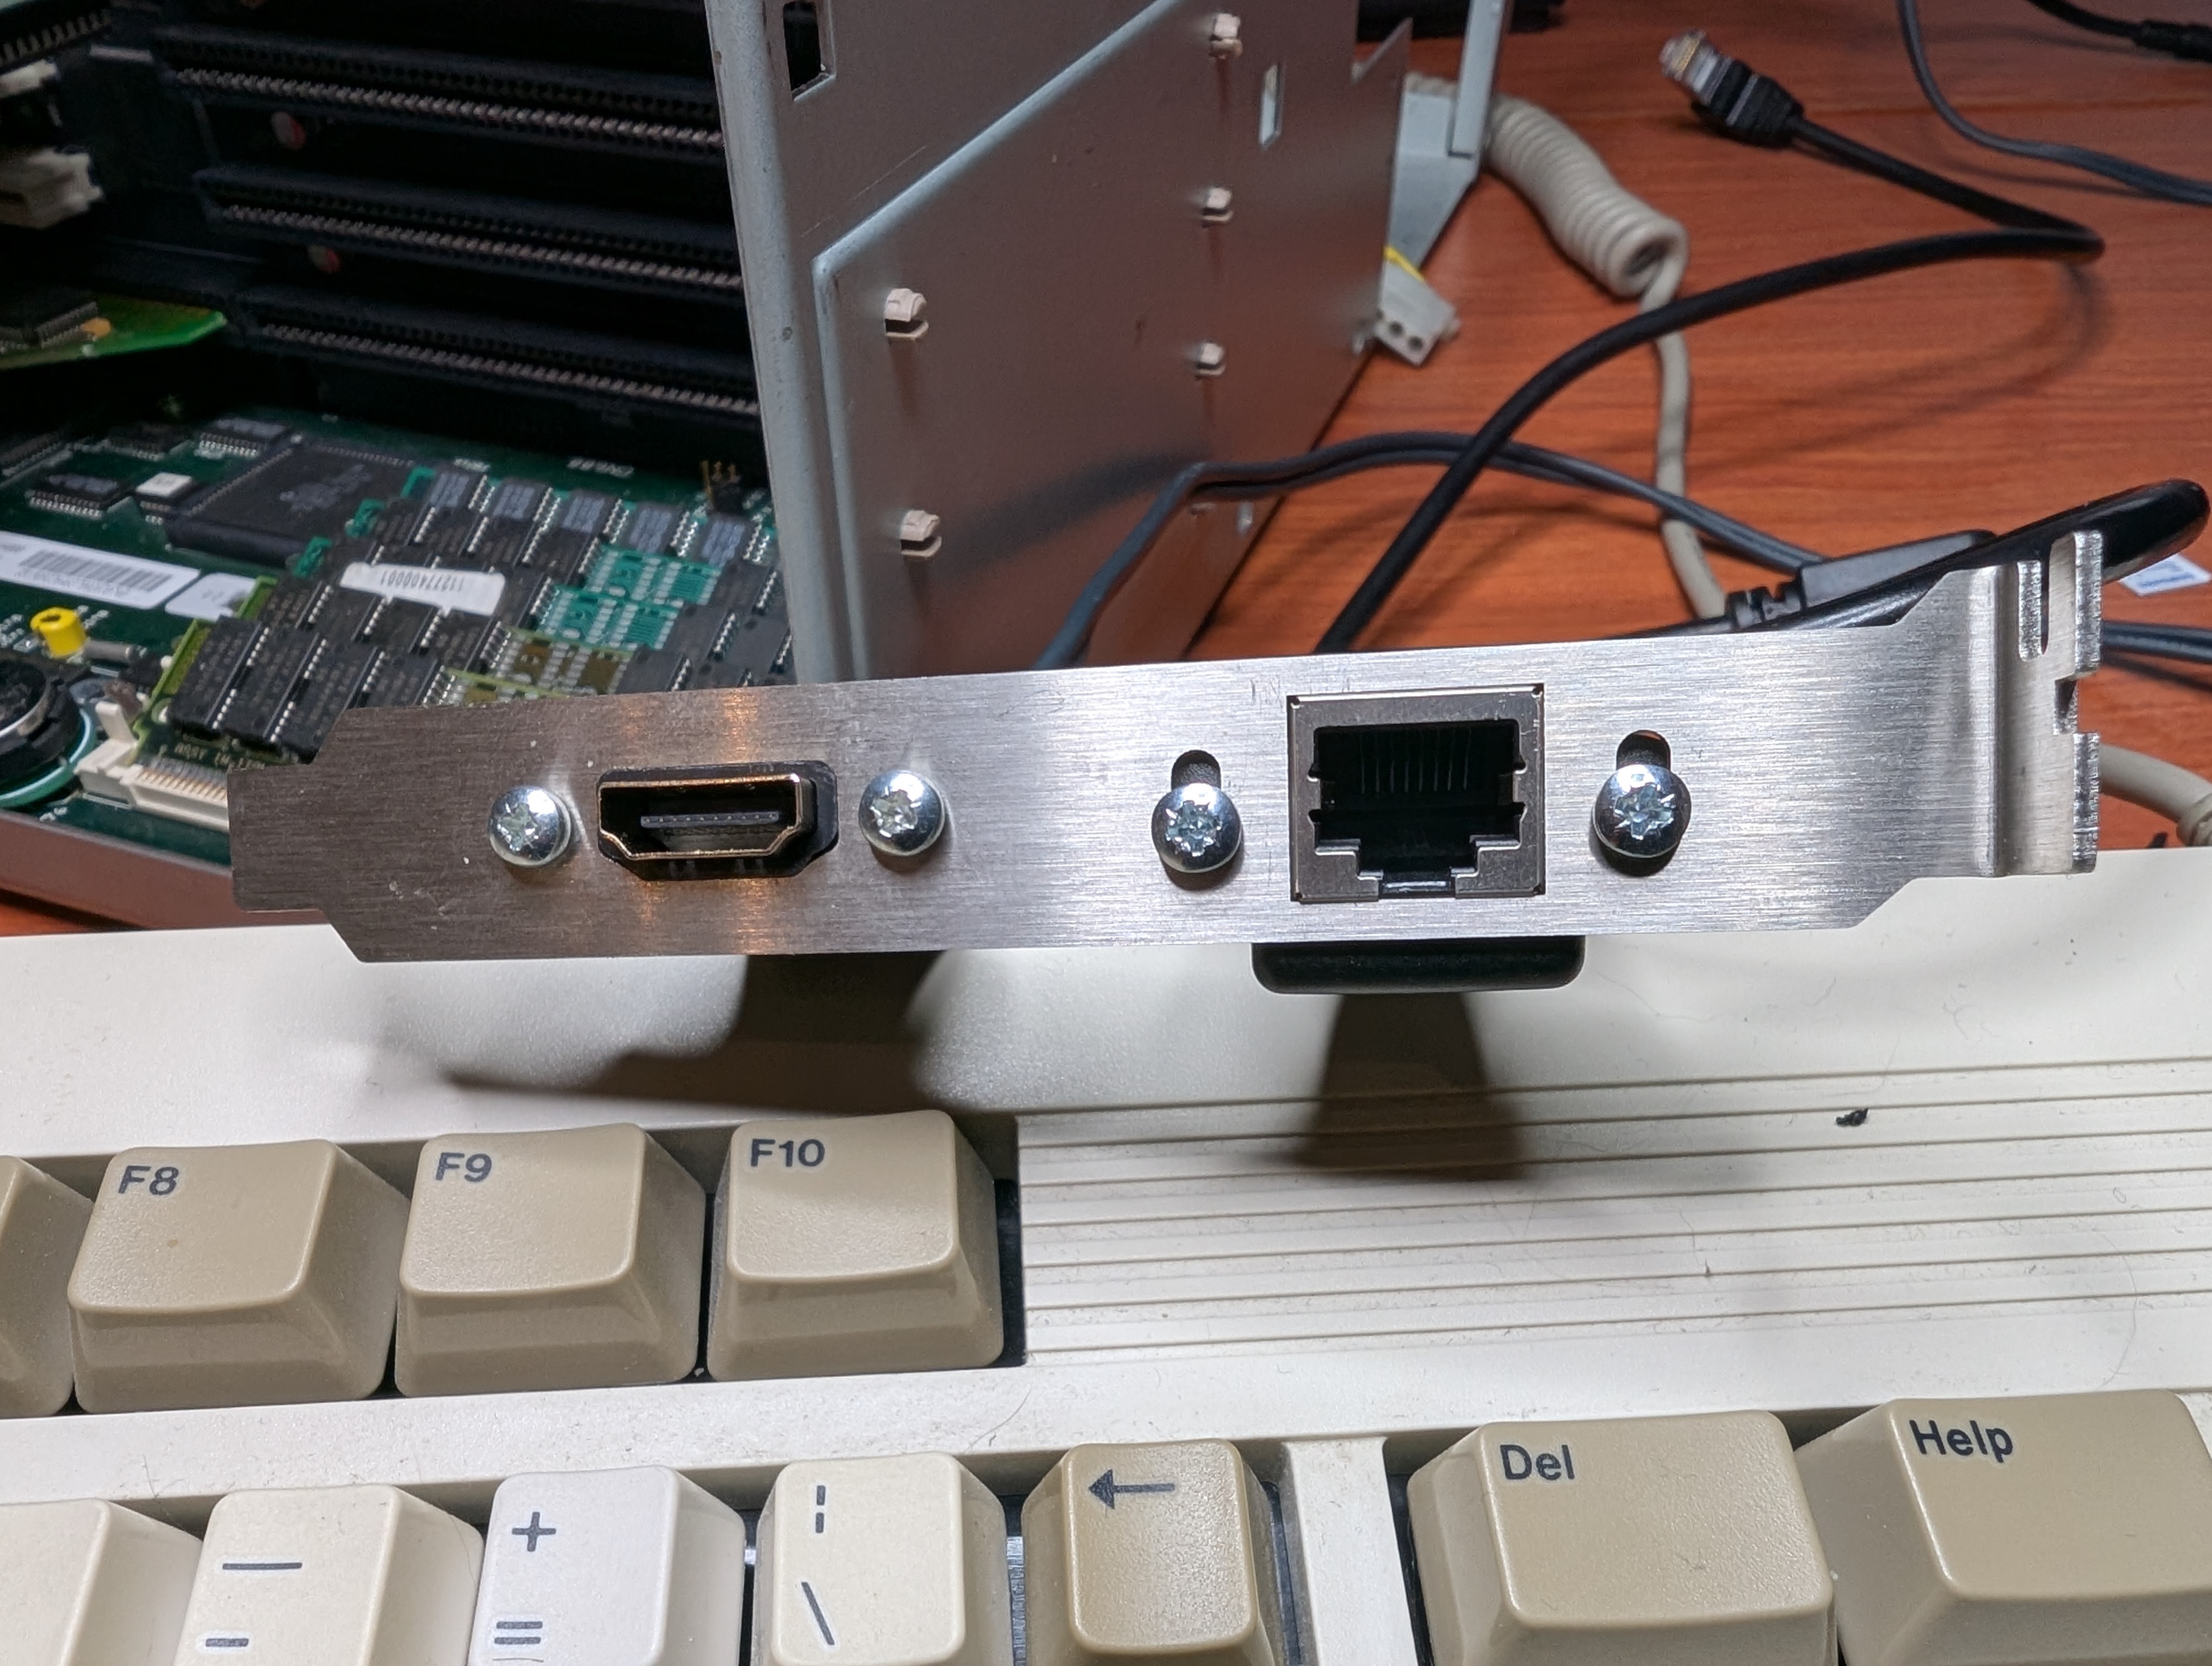
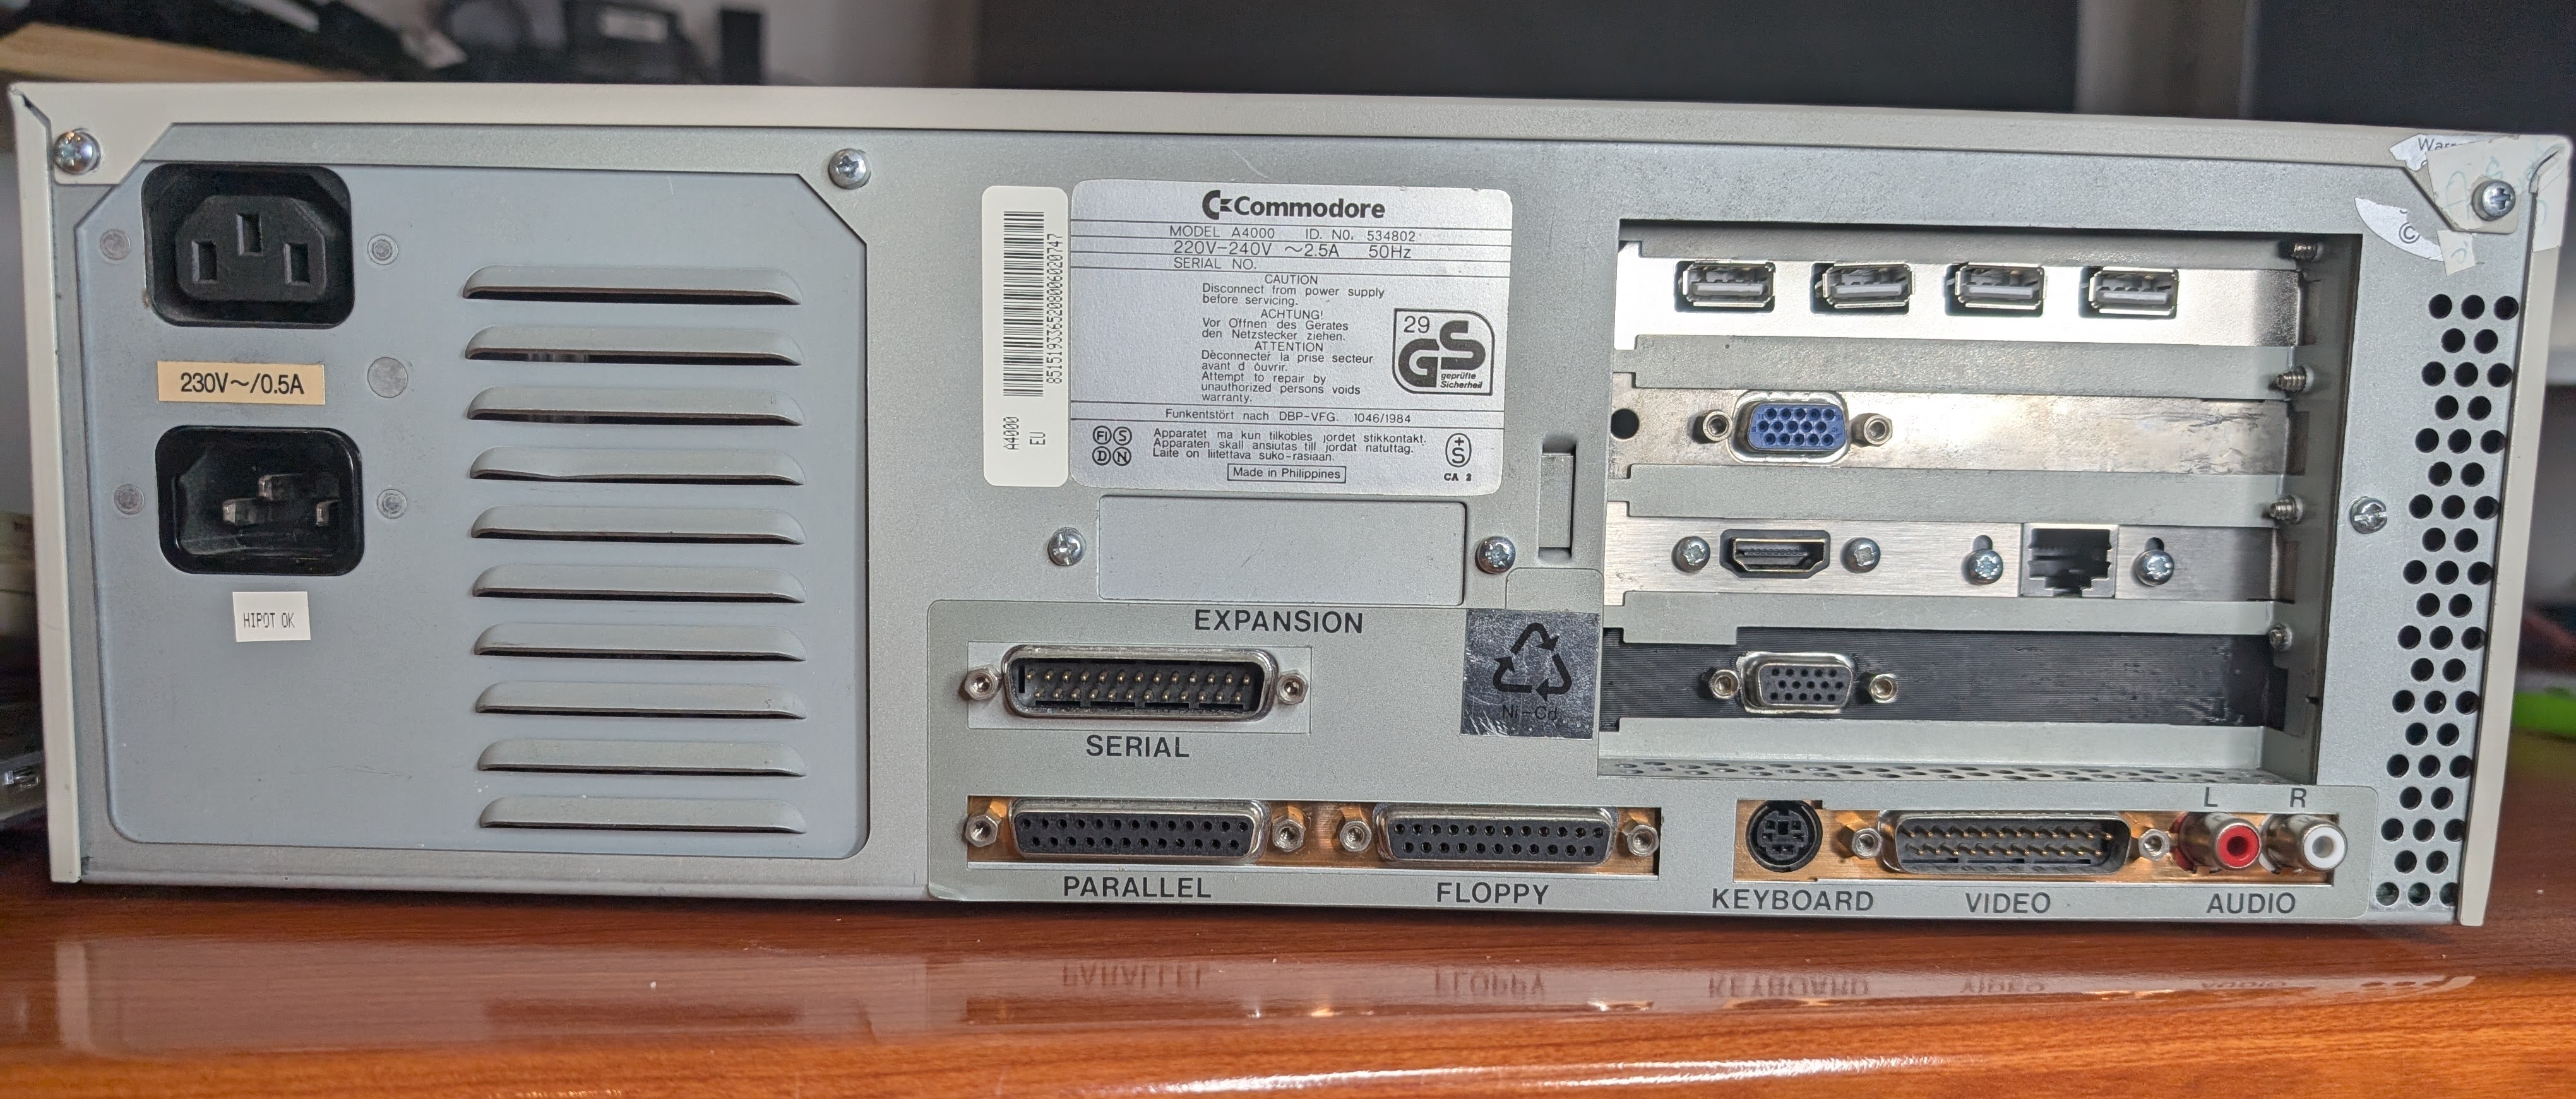
    On backplane you can see the HDMI and Ethernet bracket with extender cables. They’re routed back to Z3660.
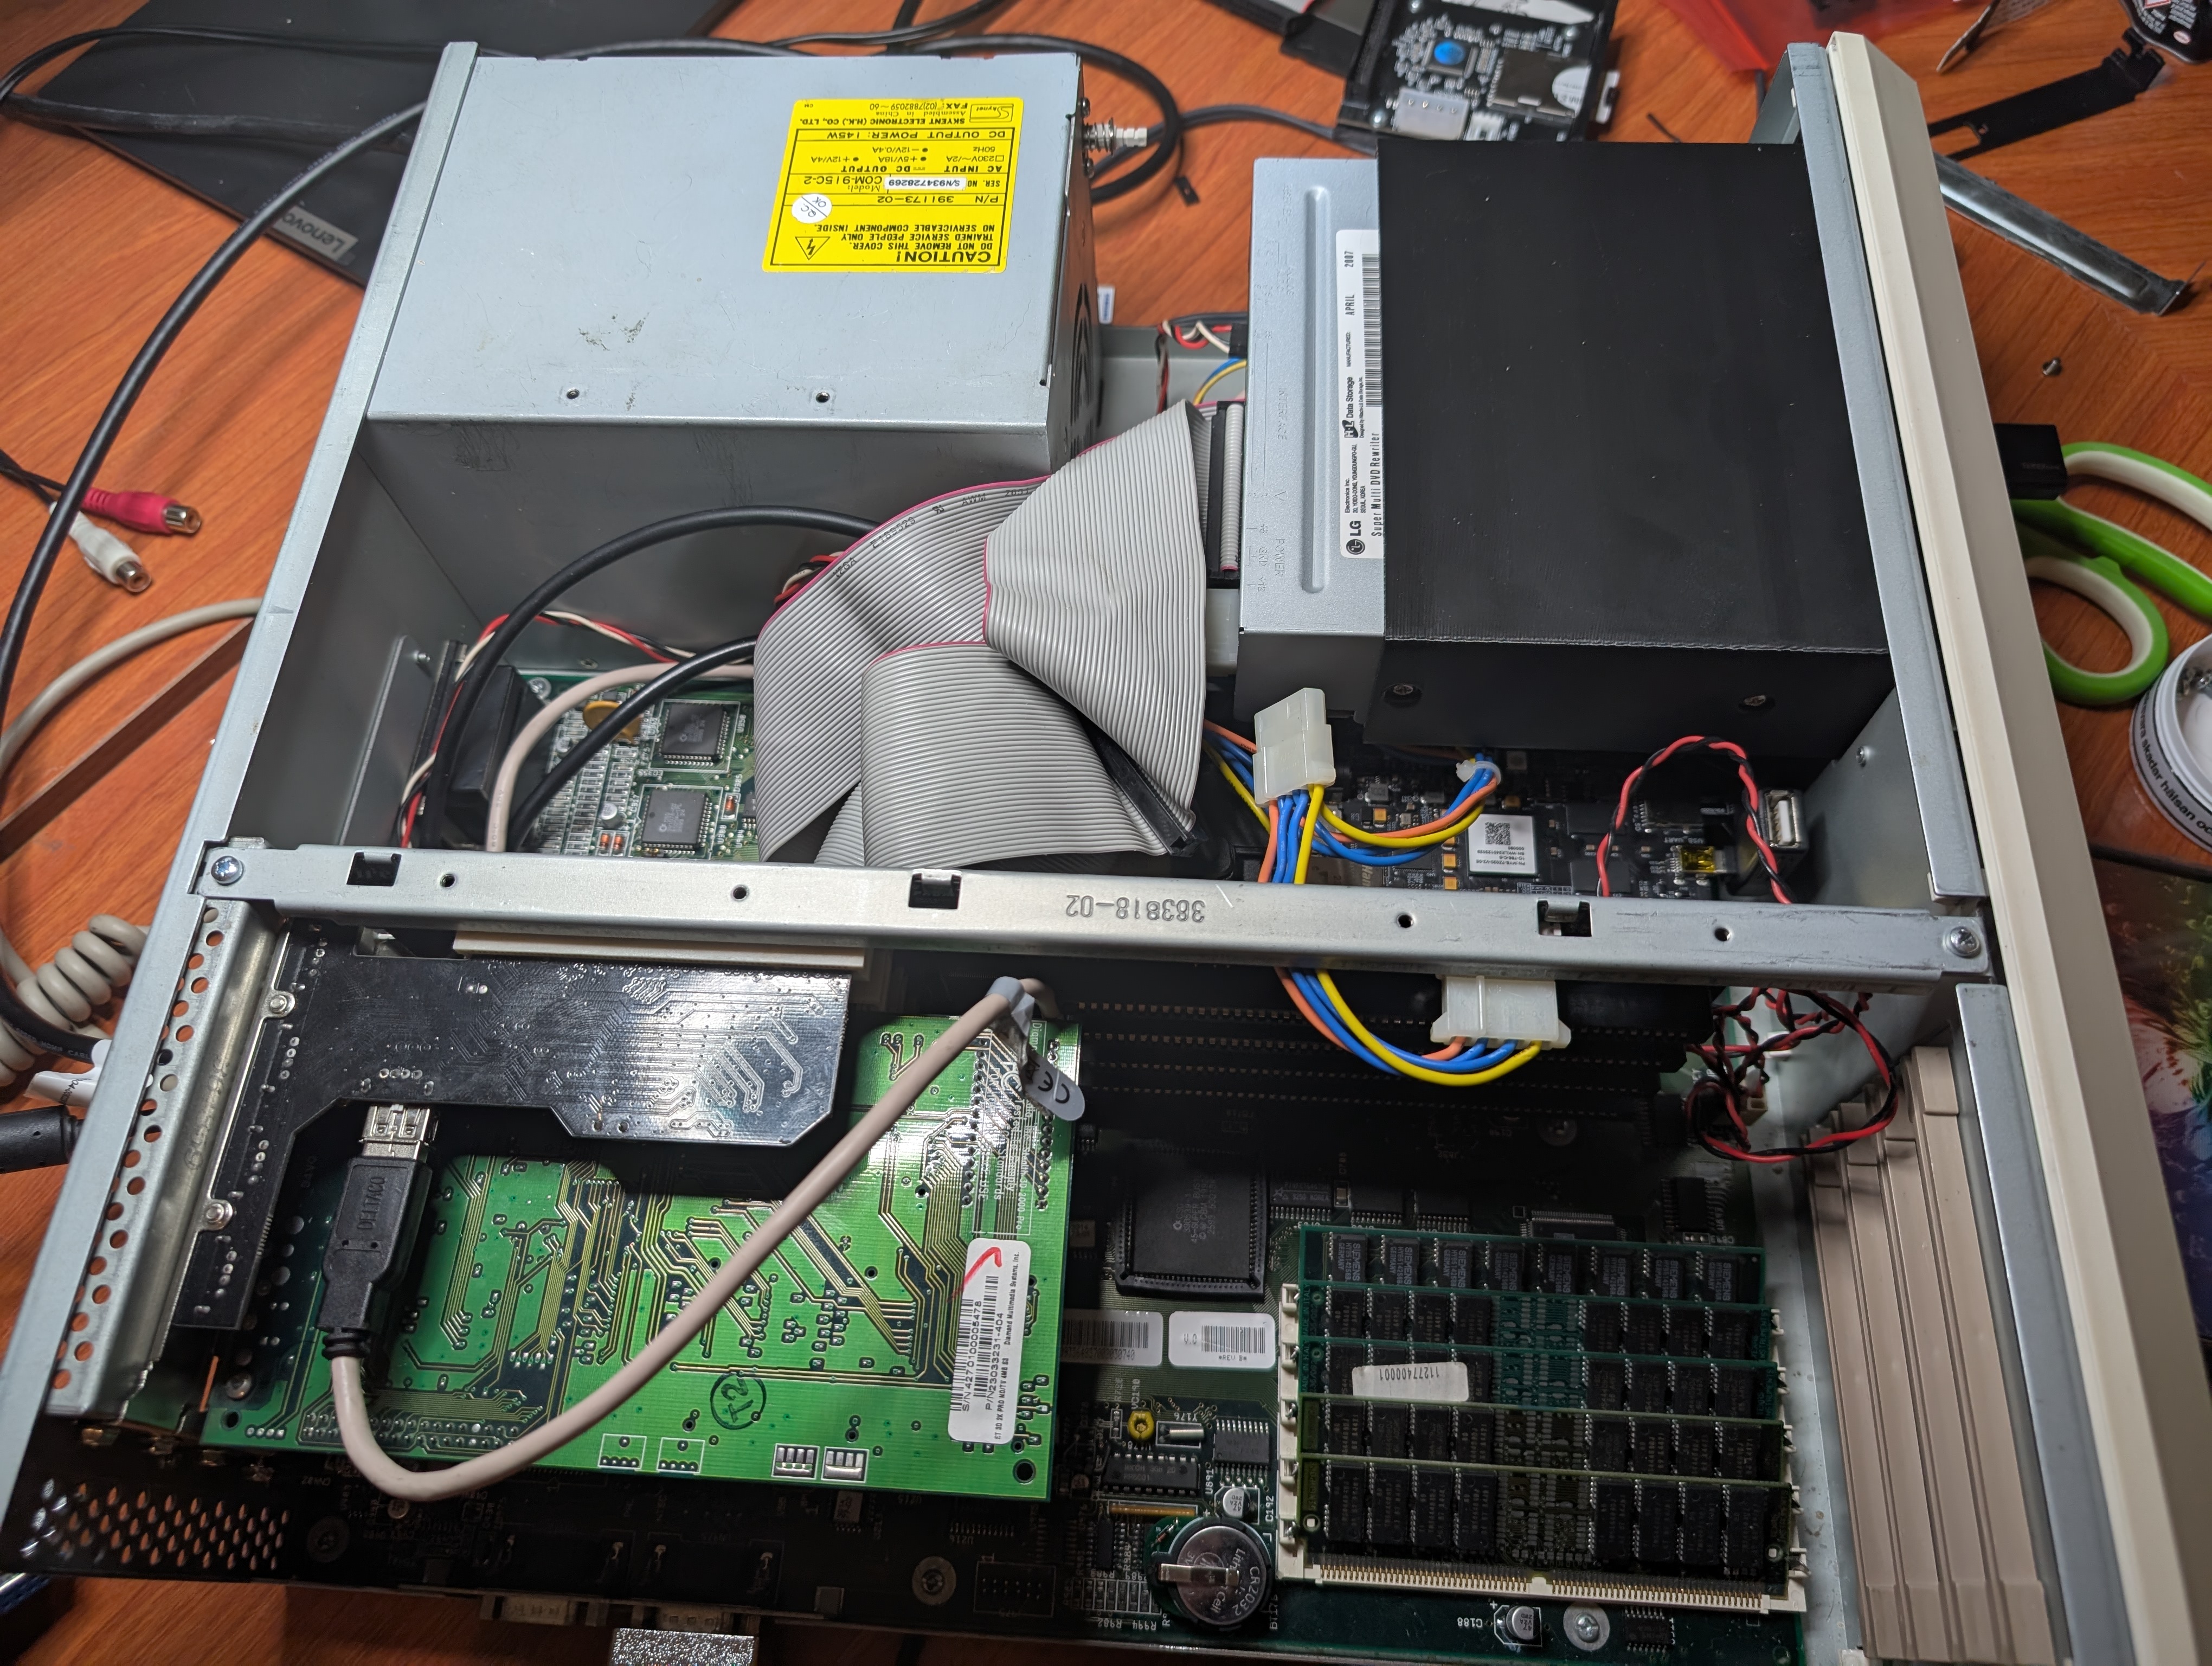
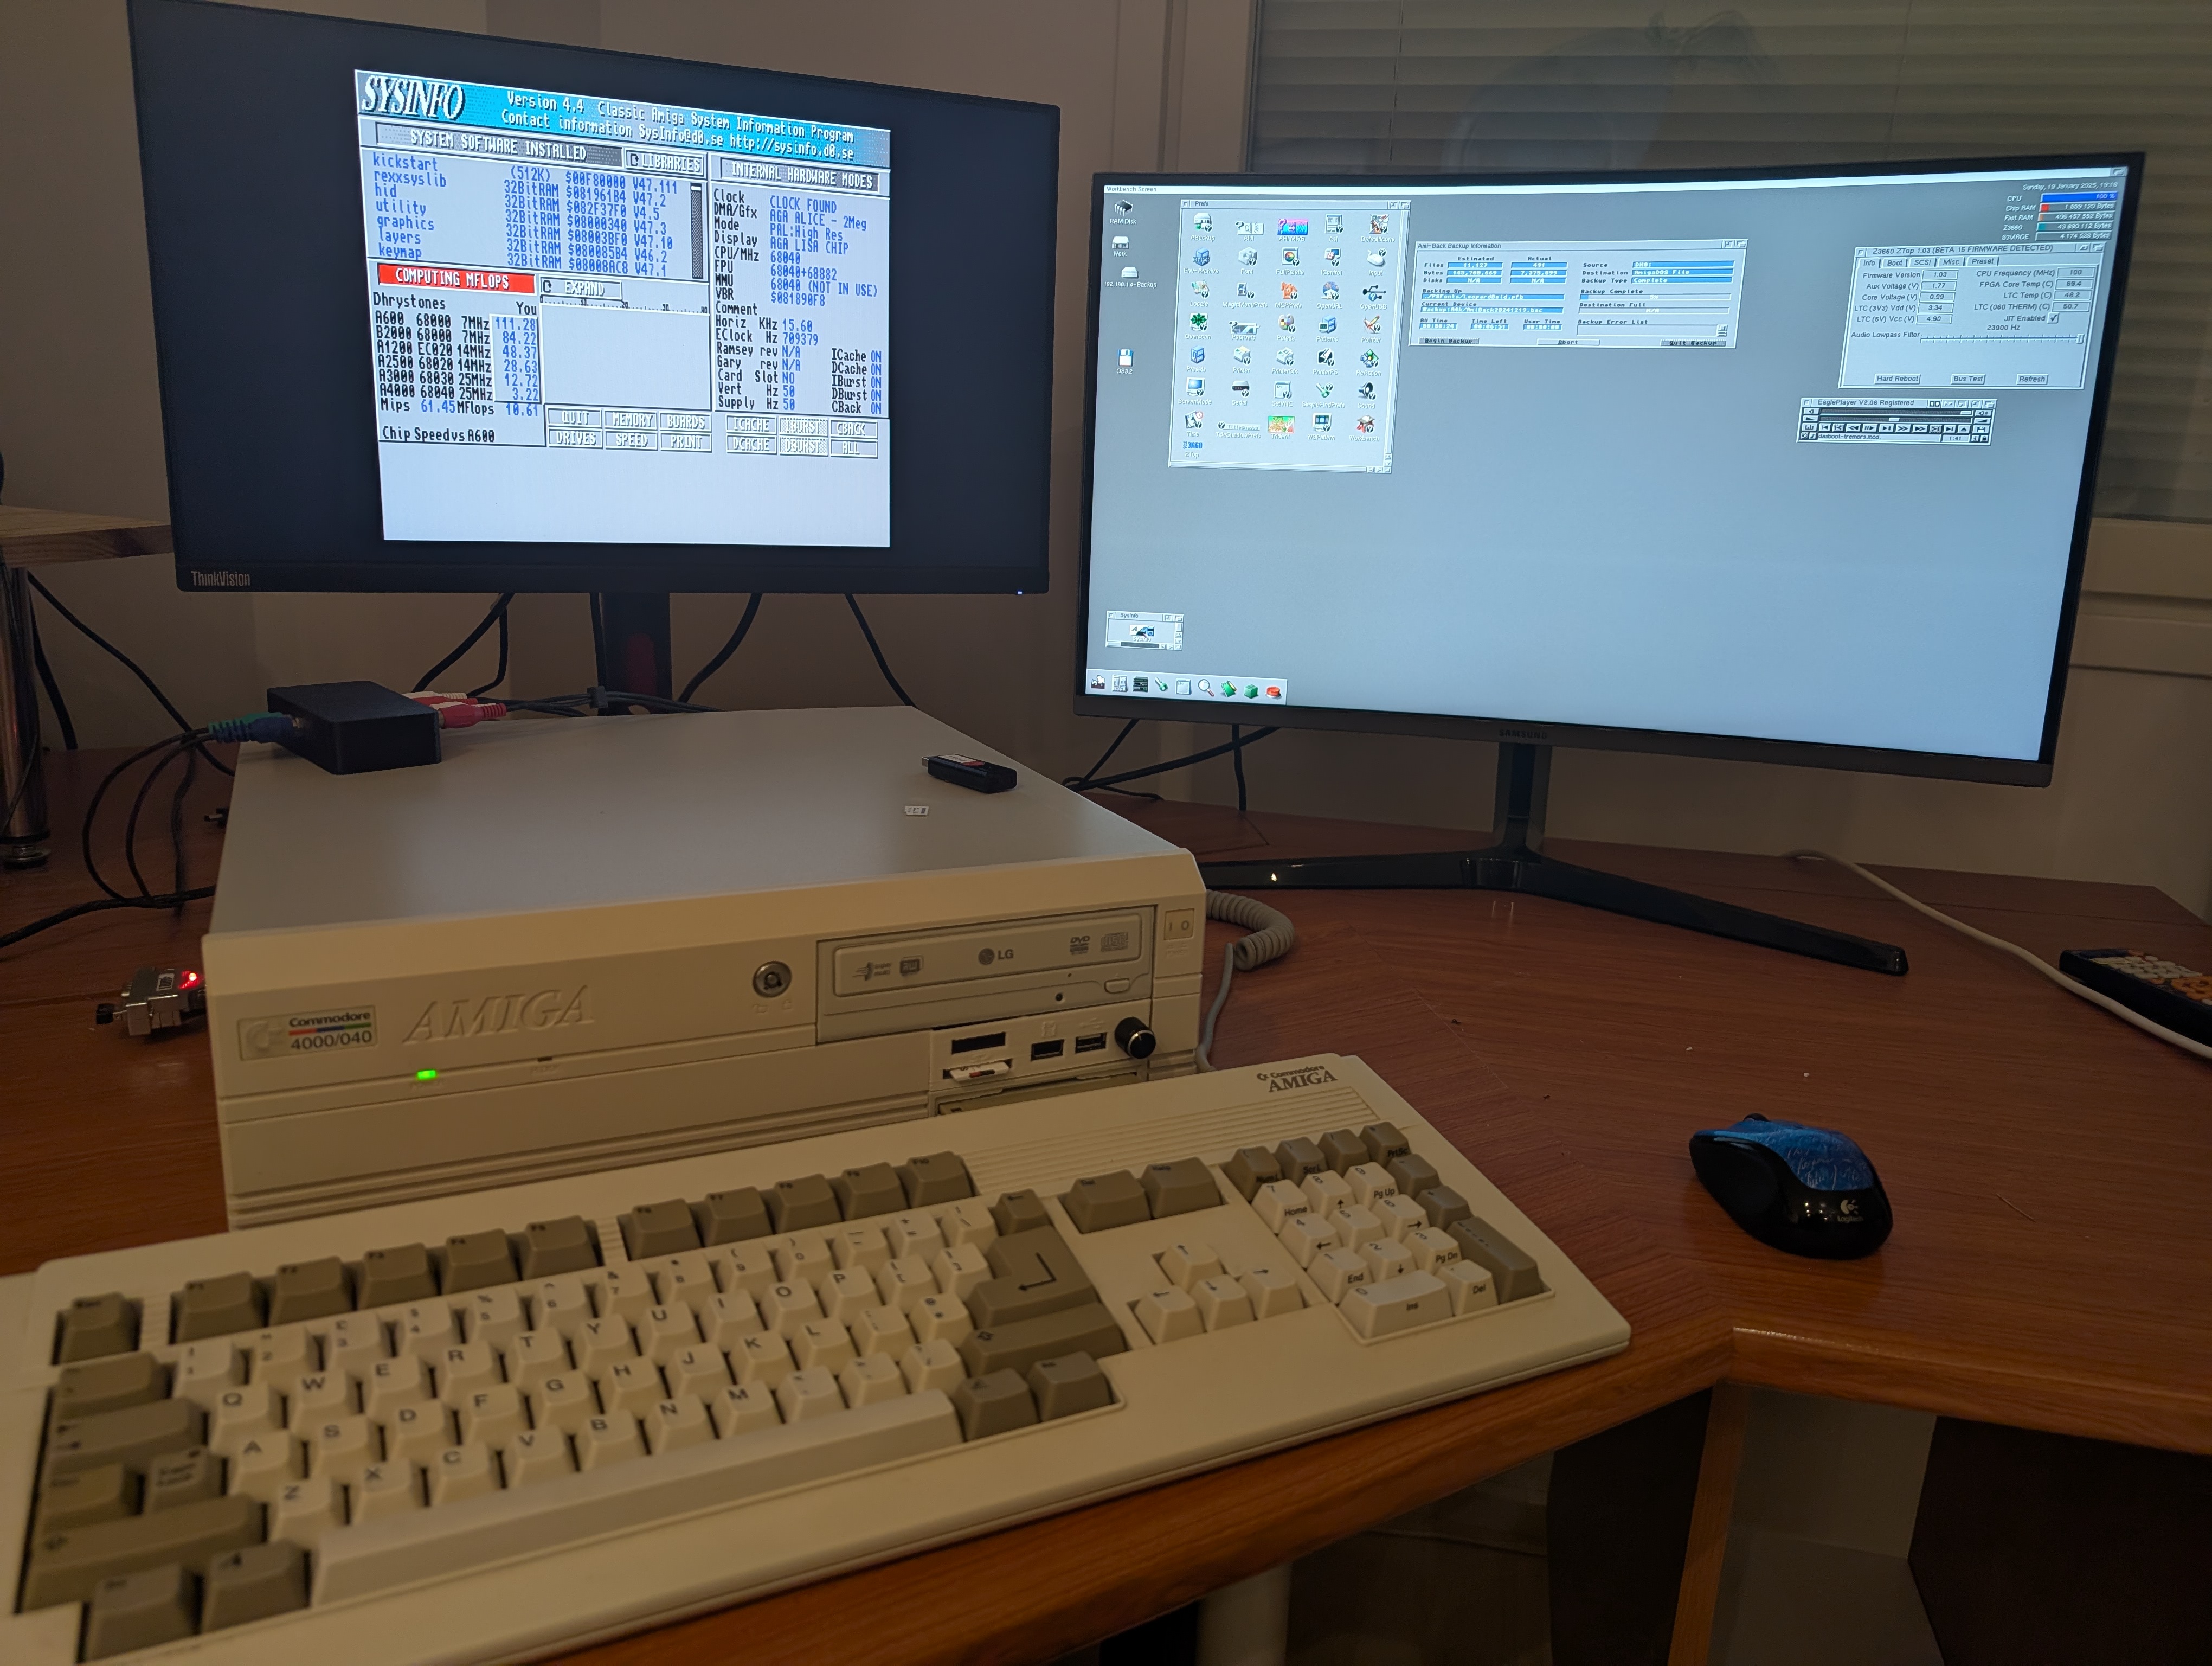
    And believe it or not, case closed! Eagleplayer playing Das Boot, Ami-Back taking backup to NAS over SMB2, which btw works just great! 100MB+ backup in five minutes or so.
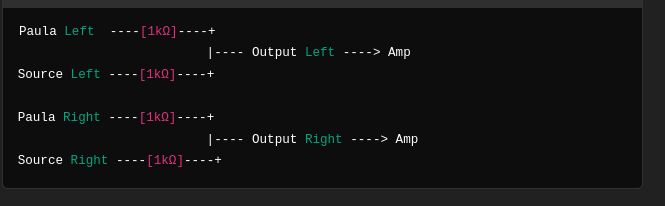
    And the black box you see on top of Amiga, is a passive audio mixer I quickly built. As I now have AHI audio besides native Amiga audio, I wanted to have them both to play through same AMP input I have, so no switching inputs for sound.
    Schematics for the mixer are pretty simple, all inputs connected to output through 1k resistor. You could add volume level controls with potentiometers, but as I tested this, both audio outputs levels were pretty much the same.
  • Amiga 4000D restoration and tweaks

    Amiga 4000D restoration and tweaks

    Quick recap what I’ve done to this day with Amiga 4000D. Found this, mostly by accident, from local ‘ebay’ for 200€. Just by pure luck, it was located next to my home town only 30 minutes drive. As I could promise, I’ll be picking it up in less than an hour, it was mine. Poor guys inbox must have been filled in just minutes.

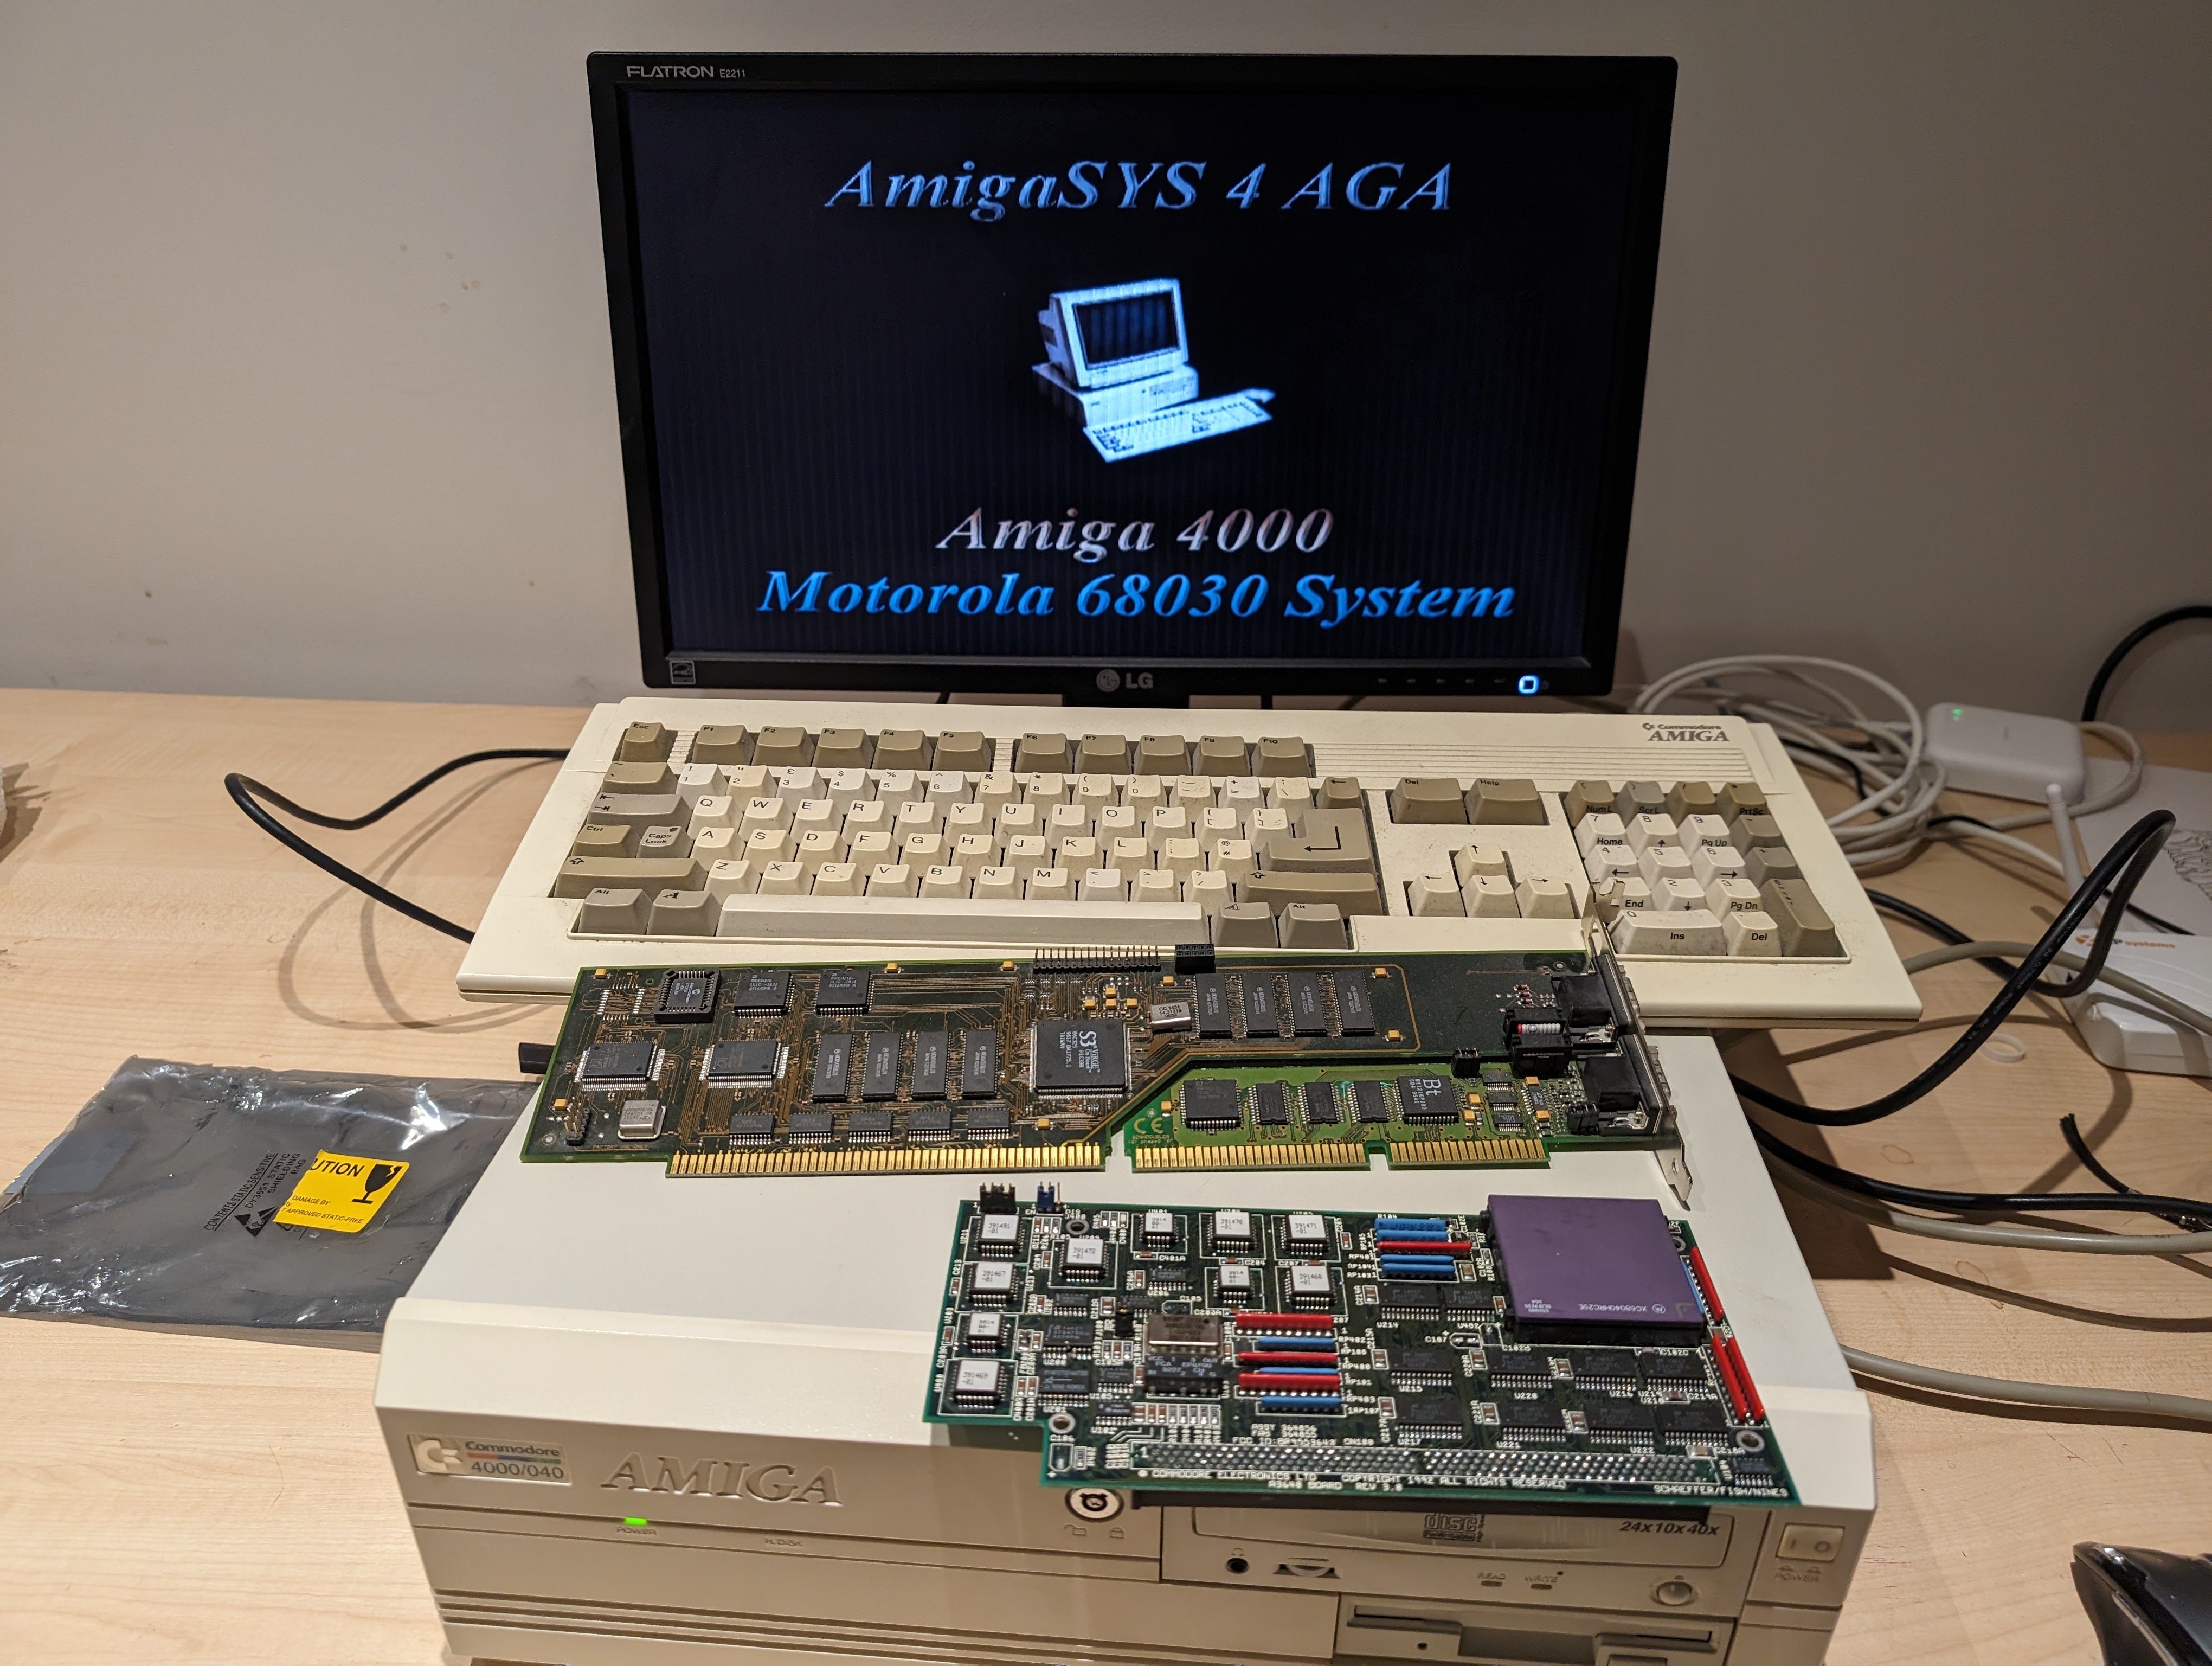
    It was in running state, but by no means it was fully working unit. And for extra 20€ I got (faulty) 68040 CPU card and for 150€ fully working Cybervision 64/3D. Inside there was 68EC030 CPU card.

    And as expected, it had the most common faults. Leaking caps, varta damage around RTC and broken SIMM clips. Couple traces around audio circuit was also busted with opamp. But nothing special.

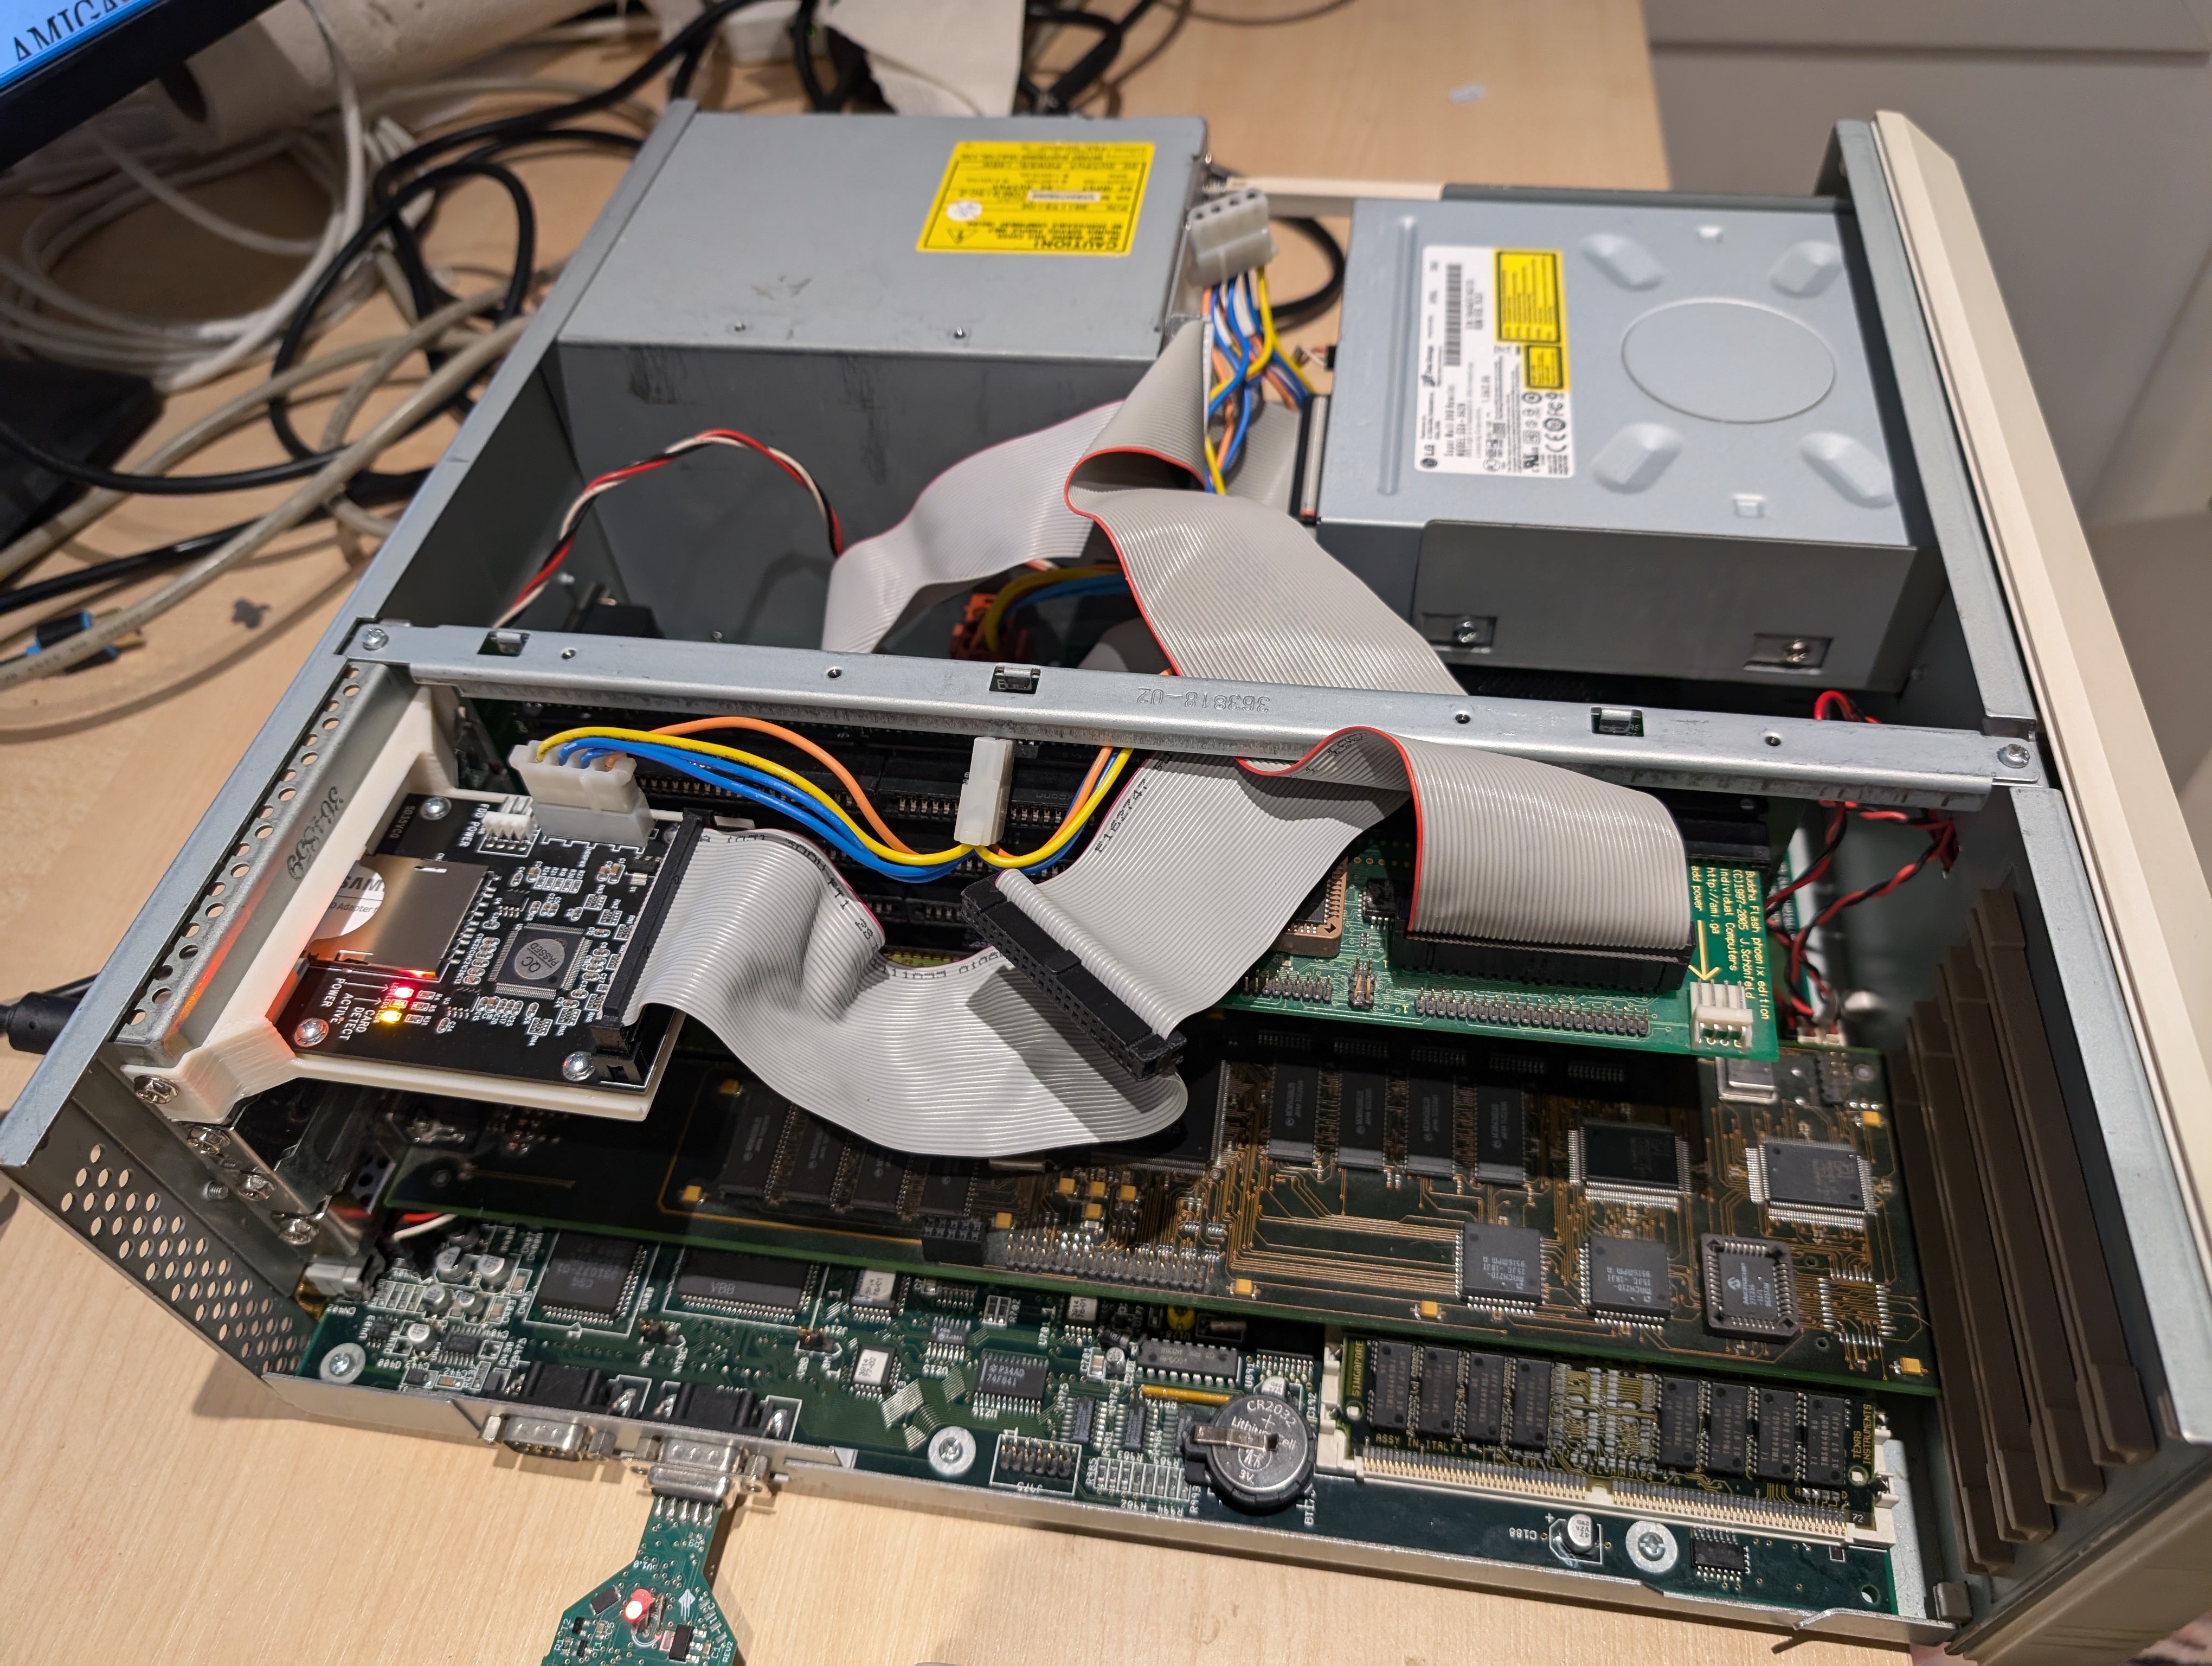
    And here it’s running fully equipped for the first time. 3D printed sd card carrier for easy swap.

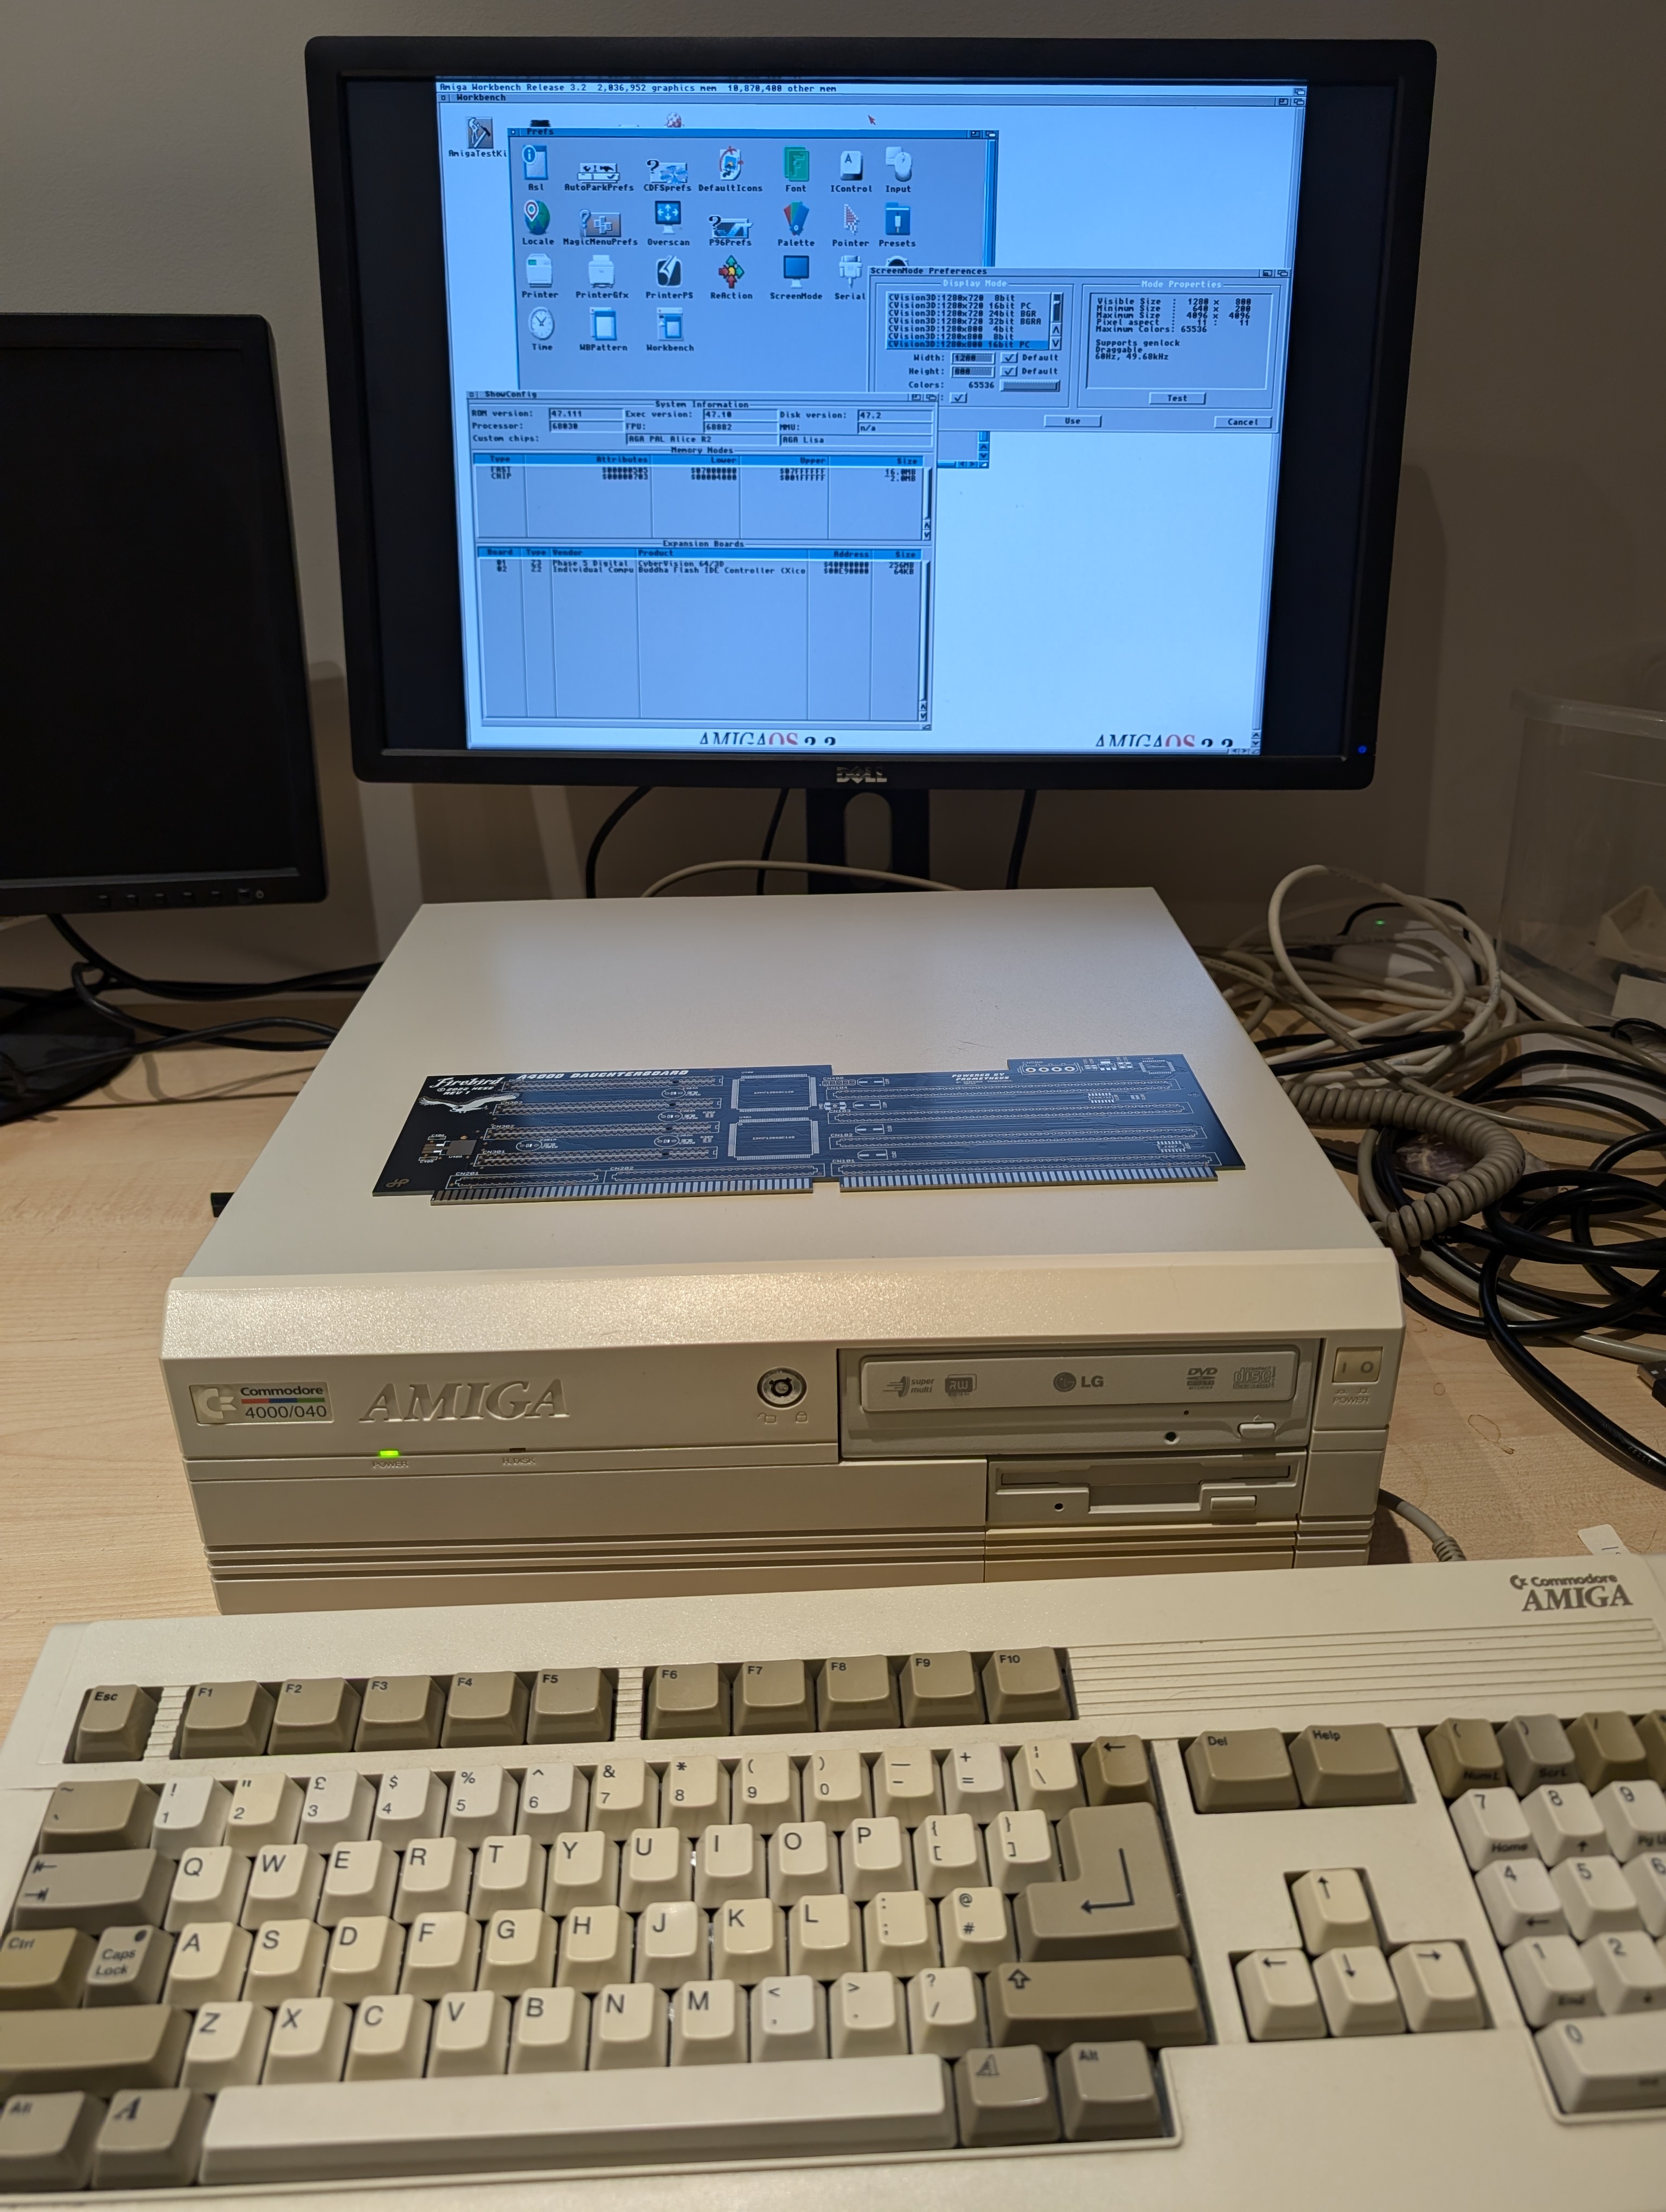
    And as you can see, already new addon waiting to be assembled. It’s PCI daughtercard designed by Hese, so instead of only Zorro or ISA cards, I can add PCI cards to add networking, USB, Graphics card etc.

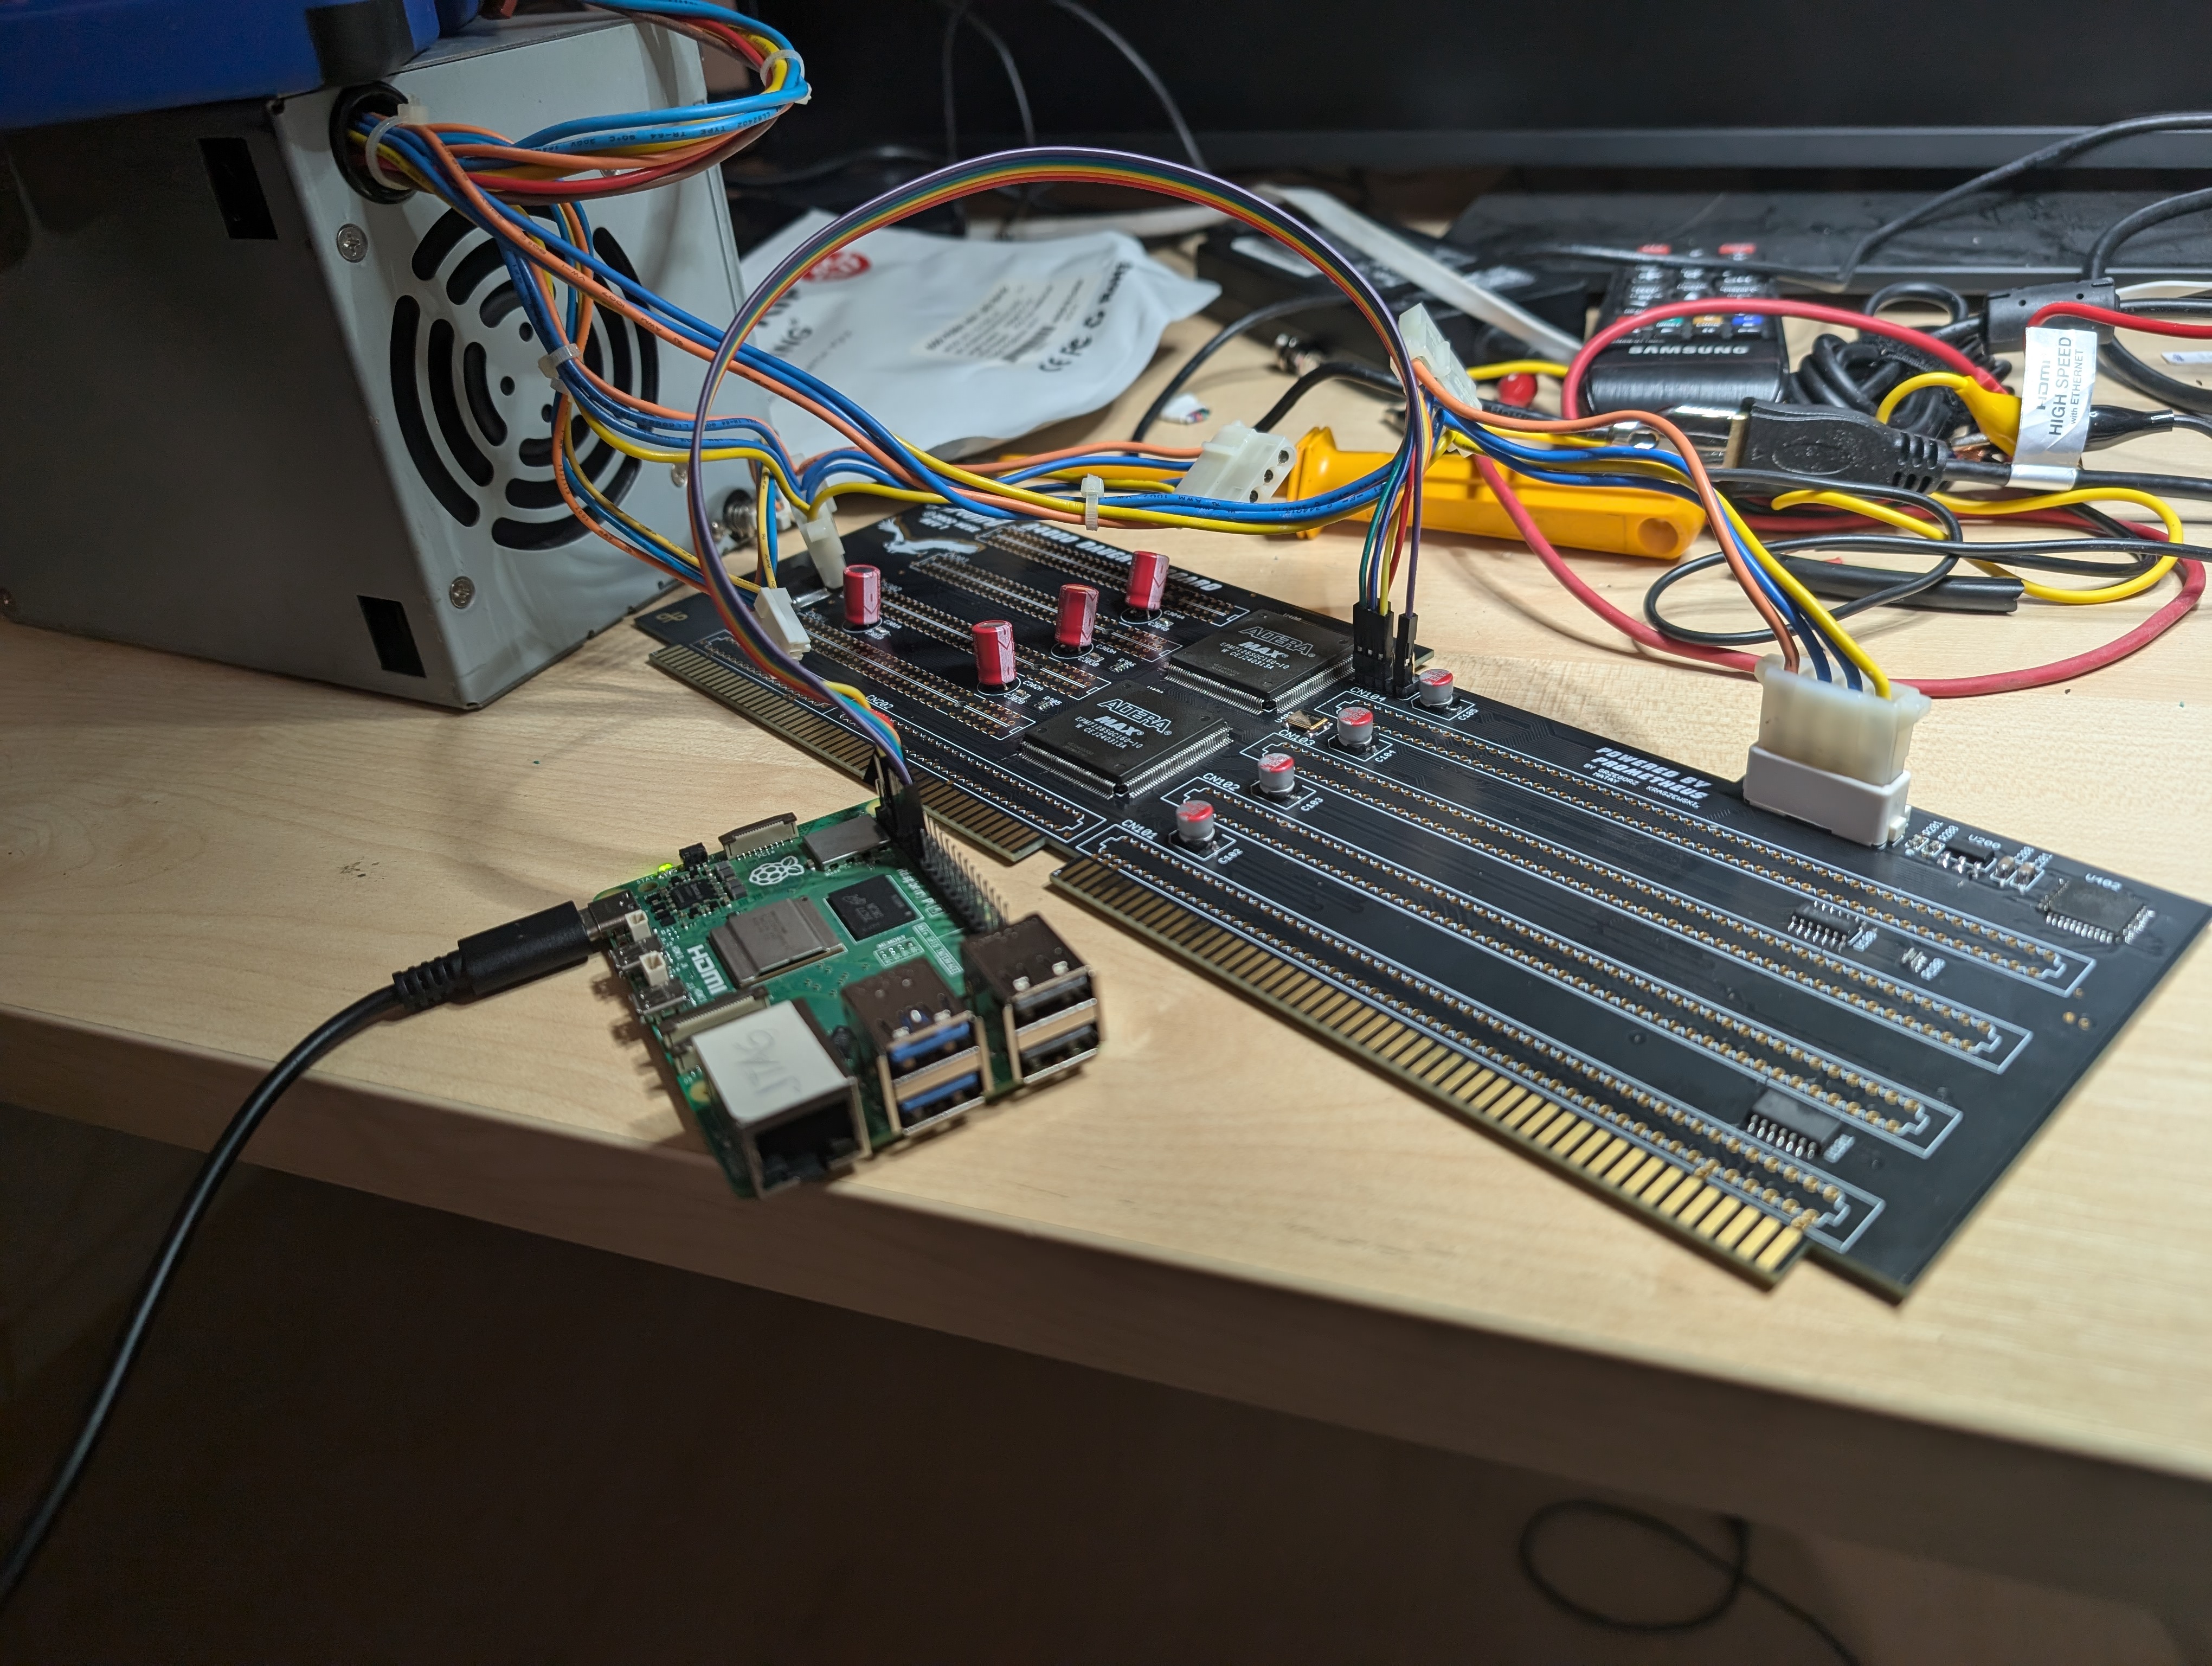
    Daughtercard assembled and programming firmware with Raspberry Pi as JTAG. Did this before soldering rest of the connectors so it would be easier to debug, if the card wasn’t working.

    And then some real life testing, CV64/3D is found and so are NEC USB card and RTL8xxx network adapter.

    But then I learned after this point, that to get those PCI cards to actually work, I’d need some PCI graphics card which would then provide DMA memory for most of the other cards to work. Oh well. I did find some 20€ S3ViRGE PCI card afterwards, but before that I already learned about opensource Z3660 project which is basically CPU accelerator, RTG (graphics card), Soundcard, ‘virtual’ SCSI emulator etc. And I was sold, but more about that in next post.